
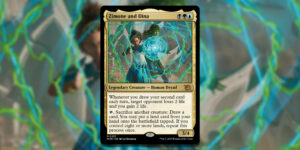
Zimone and Dina
Look at all the value stapled to Zimone and Dina for a second. Every time you draw a second card in a turn, you get to drain an opponent of two life, sustaining you through a few stray attacks early on. Or, you can use this as a slow win condition as the game progresses.
The duo’s second ability is where things can spiral out of control. By tapping Zimone and Dina and sacrificing another creature, you get to draw a card, put a land into play tapped, and then do it again if you have eight or more lands. For the first few rounds of the game, playing Zimone and Dina will feel like you’re simply counting to eight, but once you do, you can start taking advantage of their powerful abilities.
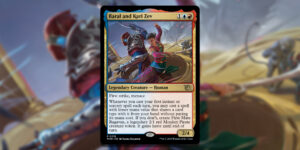
Baral and Kari Zev
Casting spells for free is great and with Baral and Kari Zev as your commander, you’ll have plenty of opportunities to get free spells each turn. Similar to the Expertise cycle from Aether Revolt, when you cast your first instant or sorcery spell each turn, Baral and Kari Zev let you cast another spell which shares the same type as it so long as it has a lower mana value than the first spell.
If you cannot cast another spell, or simply choose not to, you get a fun little token of First Mate Ragavan, a legendary 2/1 creature with haste. While this Ragavan doesn’t have any additional format-breaking abilities, it is an extra body on the board which can be bought out time and time again.
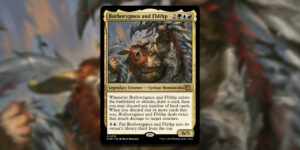
Borborygmos and Fblthp
This beefy duo brings together two total opposites in Borborygmos and Fblthp. This Temur legend draws you an extra card when it enters the battlefield and attacks. You can also discard any number of lands, dealing damage to a creature equal to twice the number of cards you discard.
A Temur lands-based deck adds some variety to your deck making, where you want to stockpile a bunch of lands to pitch them to deal with creatures in play. Borborygmos and Fblthp can tuck itself away in your library in a pinch for two mana, letting it dodge removal spells and board wipes.
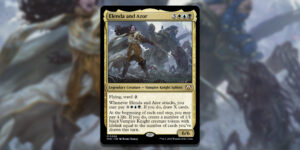
Elenda and Azor
Any commander with ward is almost automatically very solid, and since it has flying you’ll have plenty of opportunities to use Elenda and Azor’s powerful abilities. When Elenda and Azor attack, you can pay mana into it as sort of a mini Sphinx’s Revelation to draw a ton of cards.
Then, for the Elenda side of the team-up, you can pay four life to create Vampire Knight tokens with lifelink equal to the number of cards you’ve drawn this turn. You can activate this ability at any time, during any player’s turn. So if an opponent Windfalls or if you have a way to draw multiple cards during your opponent’s turn, you can quickly wind up with an army of tokens.
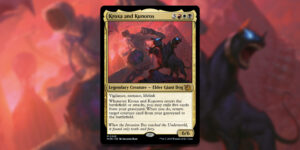
Kroxa and Kunoros
Combining two powerful creatures from Theros in one card with Kroxa and Kunoros, the union of a giant boi and a good, three-headed boi. This six-mana 6/6 creature lets you reanimate a creature from your graveyard by exiling five cards from your graveyard when it enters the battlefield or attacks.
Five cards might seem like a steep cost, but as with most graveyard-based commanders, there are a few ways to combo off with it. The easiest combo to pull off with Kroxa and Kunoros is with Altar of Dementia. This little two-card combo has you sacrificing Kroxa and Kunoros to the Altar, milling six cards with the enter the battlefield trigger on the stack. You can then return Kroxa and Kunoros back to the battlefield with their own trigger.
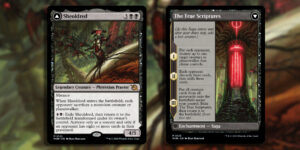
Sheoldred // The True Scriptures
The latest round of New Phyrexian Praetors are complicated creatures, with their front side as a creature and the back as a saga. Sheoldred comes down and edicts each of your opponents, forcing them to sacrifice a nontoke creature or a planeswalker. Flipping Sheoldred into The True Scriptures is comparatively easy, only requiring an opponent to have eight or more cards in their graveyard.
Once transformed into The True Scriptures, you get to blow up a creature or planeswalker of your choice for the first chapter. Then, each opponent discards three cards and mills three cards for the second chapter, filling up everyone’s graveyard for the final chapter. The last time you put a lore counter on it, you get a free Rise of the Dark Realms effect, stealing the creatures from everyone’s graveyard for yourself.
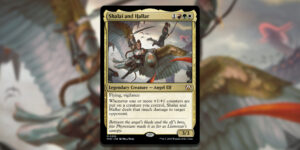
Shalai and Hallar
There are so many two-card combos with Shalai and Hallar it’s ridiculous. Every time you put one or more +1/+1 counters on a creature you control Shalai and Hallar deals that much damage to an opponent.
One of the fastest ways to combo out with Shalai and Hallar is with The Red Terror, the Tyranid legendary creature from the Warhammer 40,000 Commander decks. Since Shalai and Hallar is a red creature, you can infinitely combo off, dealing one damage to each opponent infinitely until you wind the game.

Urabrask // The Great Work
It almost feels like Wizards of the Coast wanted to jam as many combo-based legendary creatures into one set, especially with Urabrask and The Great Work. With Urabrask out, it deals one damage to an opponent and adds a red mana to your mana pool with every instant and sorcery spell you cast.
With a deck full of cheap cantrips you can build a massive storm count and then take any remaining players out with a Grapeshot. Flipping into The Great Work likely won’t happen often, as the most value of the card comes from the Urabrask side. But, being able to recast your already-spent spells with a fresh Urabrask in play gives you plenty of fuel to try and combo off again.
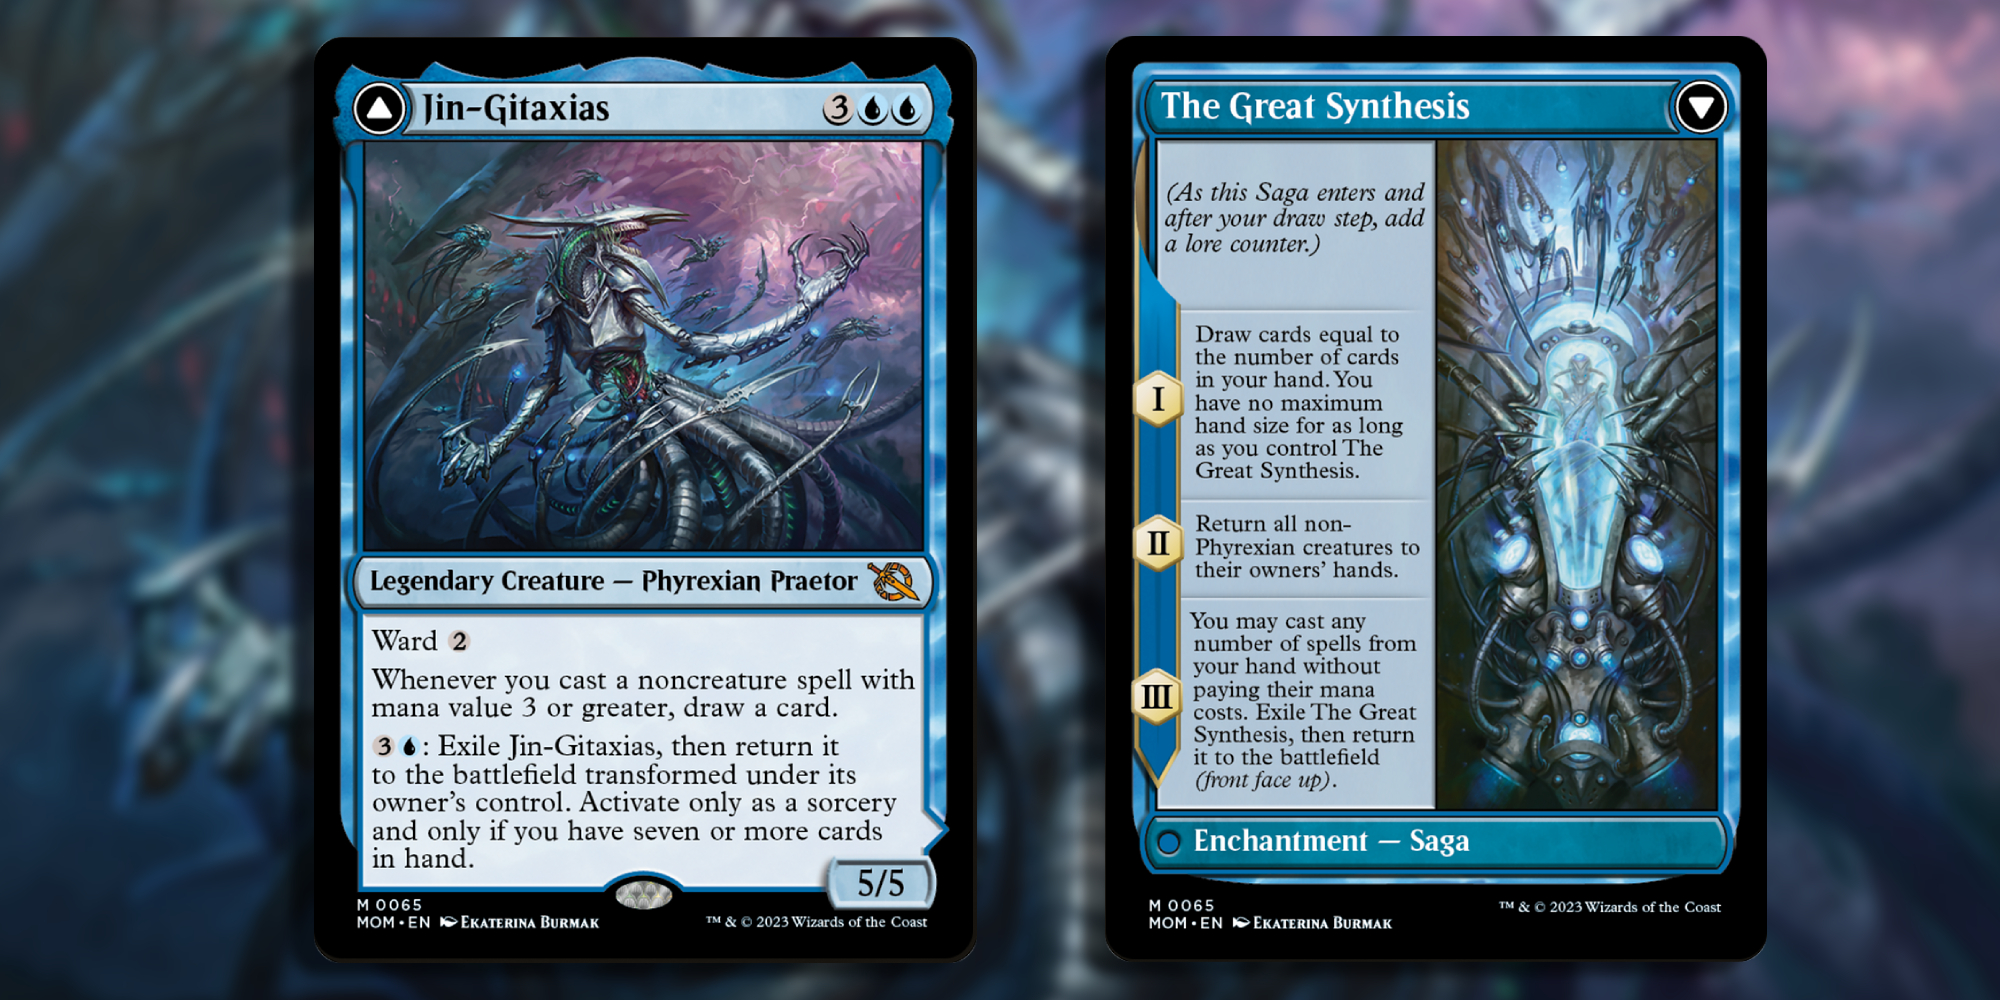
Jin-Gitaxias // The Great Synthesis
Get ready to draw tons of cards with Jin-Gitaxias and The Great Synthesis in play. Every noncreature spell you cast with mana value three or more draws you a card, turning every big spell you cast into a cantrip. Flipping into The Great Synthesis requires you to have seven or more cards in hand, which shouldn’t be a problem for a mono-blue deck.
Now as The Great Synthesis, you can draw cards equal to the number of cards you already have in hand, likely netting you an additional seven cards. At the second chapter, you get to bounce all non-Phyrexian creatures back to their owner’s hand, clearing the board from any sort of problems your opponents might have out. And finally, you get a limited Omniscience effect, casting any number of spells from your hand without paying for them. It’s a huge payoff for all the work.
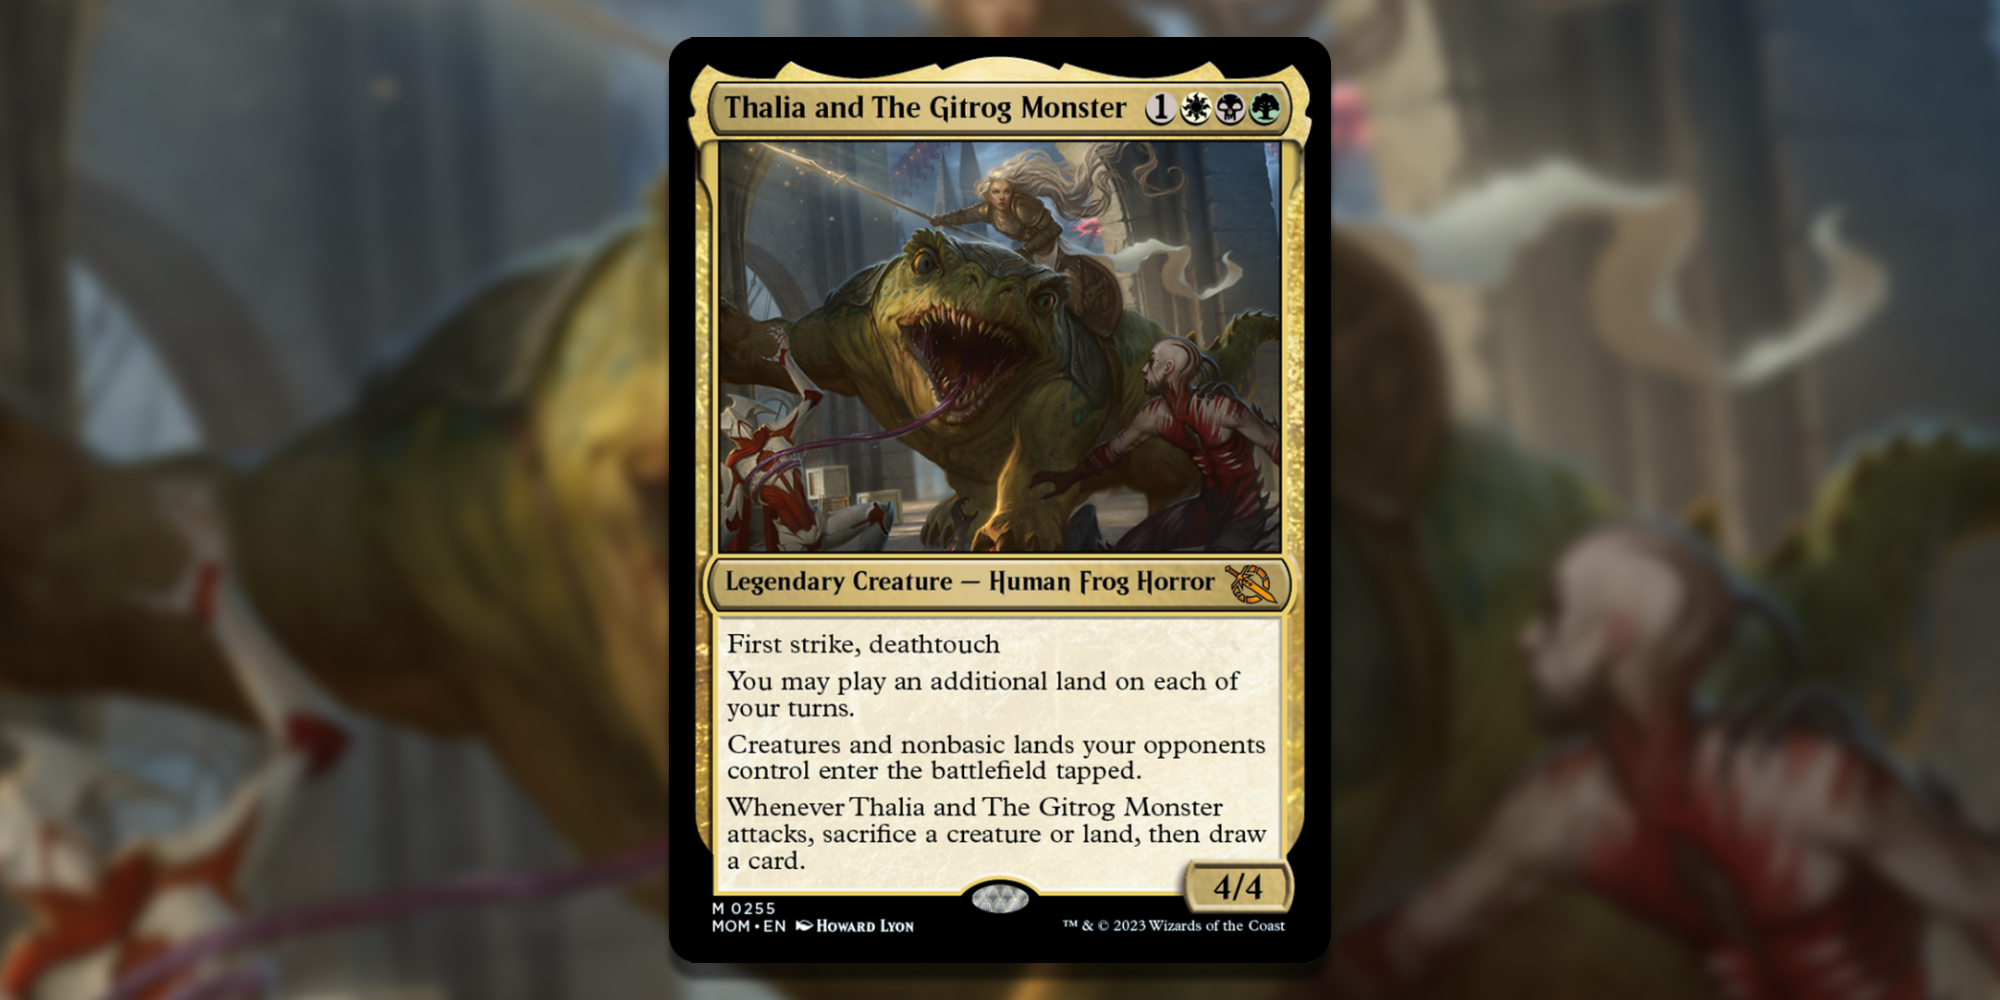
Thalia and The Gitrog Monster
Stax players and giant frog fans can rejoice in the printing of Thalia and The Gitrog Monster. How did Thalia, a human and ostensibly The Gitrog Monster’s favorite meal on Innistrad, manage to ride the hideous beast is unknown. But, we’re glad they teamed up into a powerful Stax piece.
Thalia and The Gitrog Monster lets you play extra lands each turn while also giving you a chance to draw more cards by sacrificing lands or creatures when it attacks. It can safely attack into most boards too since it has first strike and deathtouch, a rare combination of skills which is great offensively and defensively.
Ryan Hay (he/him) has been writing about Magic: The Gathering and video games for years, and loves absolutely terrible games. Send him your bad game takes over on Twitter where he won’t stop talking about Lord of the Rings.