
Cover image: Timestream Navigator by Zezhou Chen
The Core Set: for many years in Magic’s history, the summer expansion has been the core set. It introduced new cards and classic staples into the Standard rotation through mono color and evergreen themes, perfect for a new player. This summer instead we get a crossover expansion between Magic: the Gathering and Dungeons & Dragons which may bring new players into MTG with the two the hobbies lacing up nicely. Even though this expansion is not a core set, I’ve found other corsets in Adventures of the Forgotten Realms.

Corsets and garments with similar construction (like dresses) can be found worn by many of your favorite MTG characters: Liliana of the Veil, Nissa Revane, Timestream Navigator, and Rakish Heir showing all genders are fit for corsets!

Historically corsets have been popular since the 16th century and found in modern fashion today: it’s no surprise the many costumes made for Magic cards may require corsets. If you want to transform and imitate the illustrations you’ll want the skinny on these waist cinching coverings. To help me provide additional tips and tricks I’ve brought in 3 talented MTG cosplayers to help lace up everything you need to know about corsetry. Presenting: Arielle, Jana, and Mikaela. During the middle of the 2020 pandemic, we first came together to do fun collaborative cosplay projects. They began with the #MTGBunny planeswalker mashup, where each of these ladies constructed a character-matching corset from scratch.
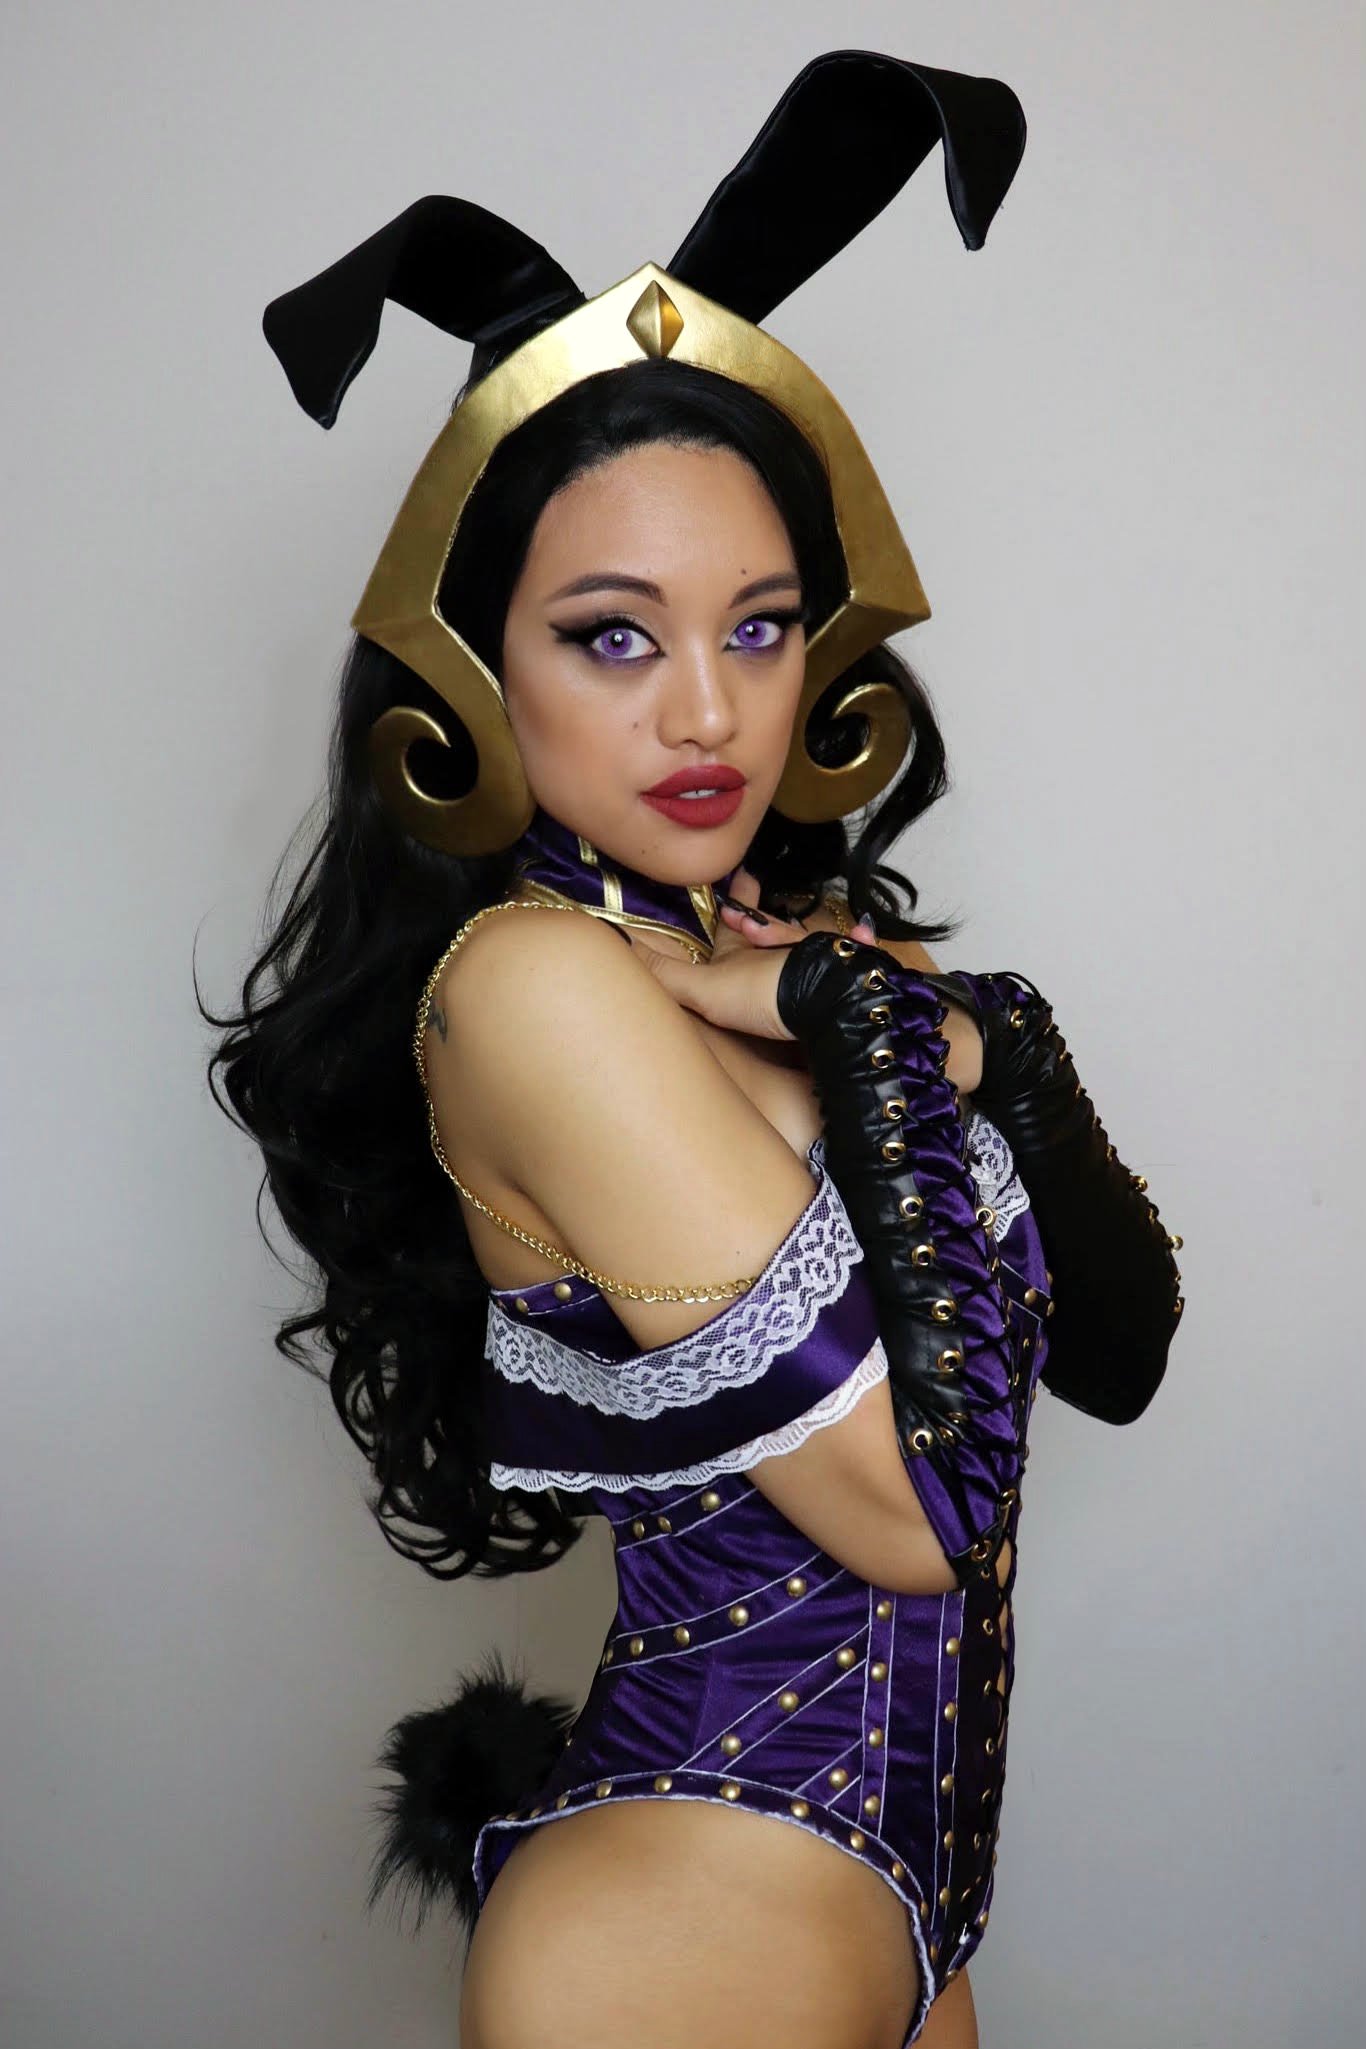
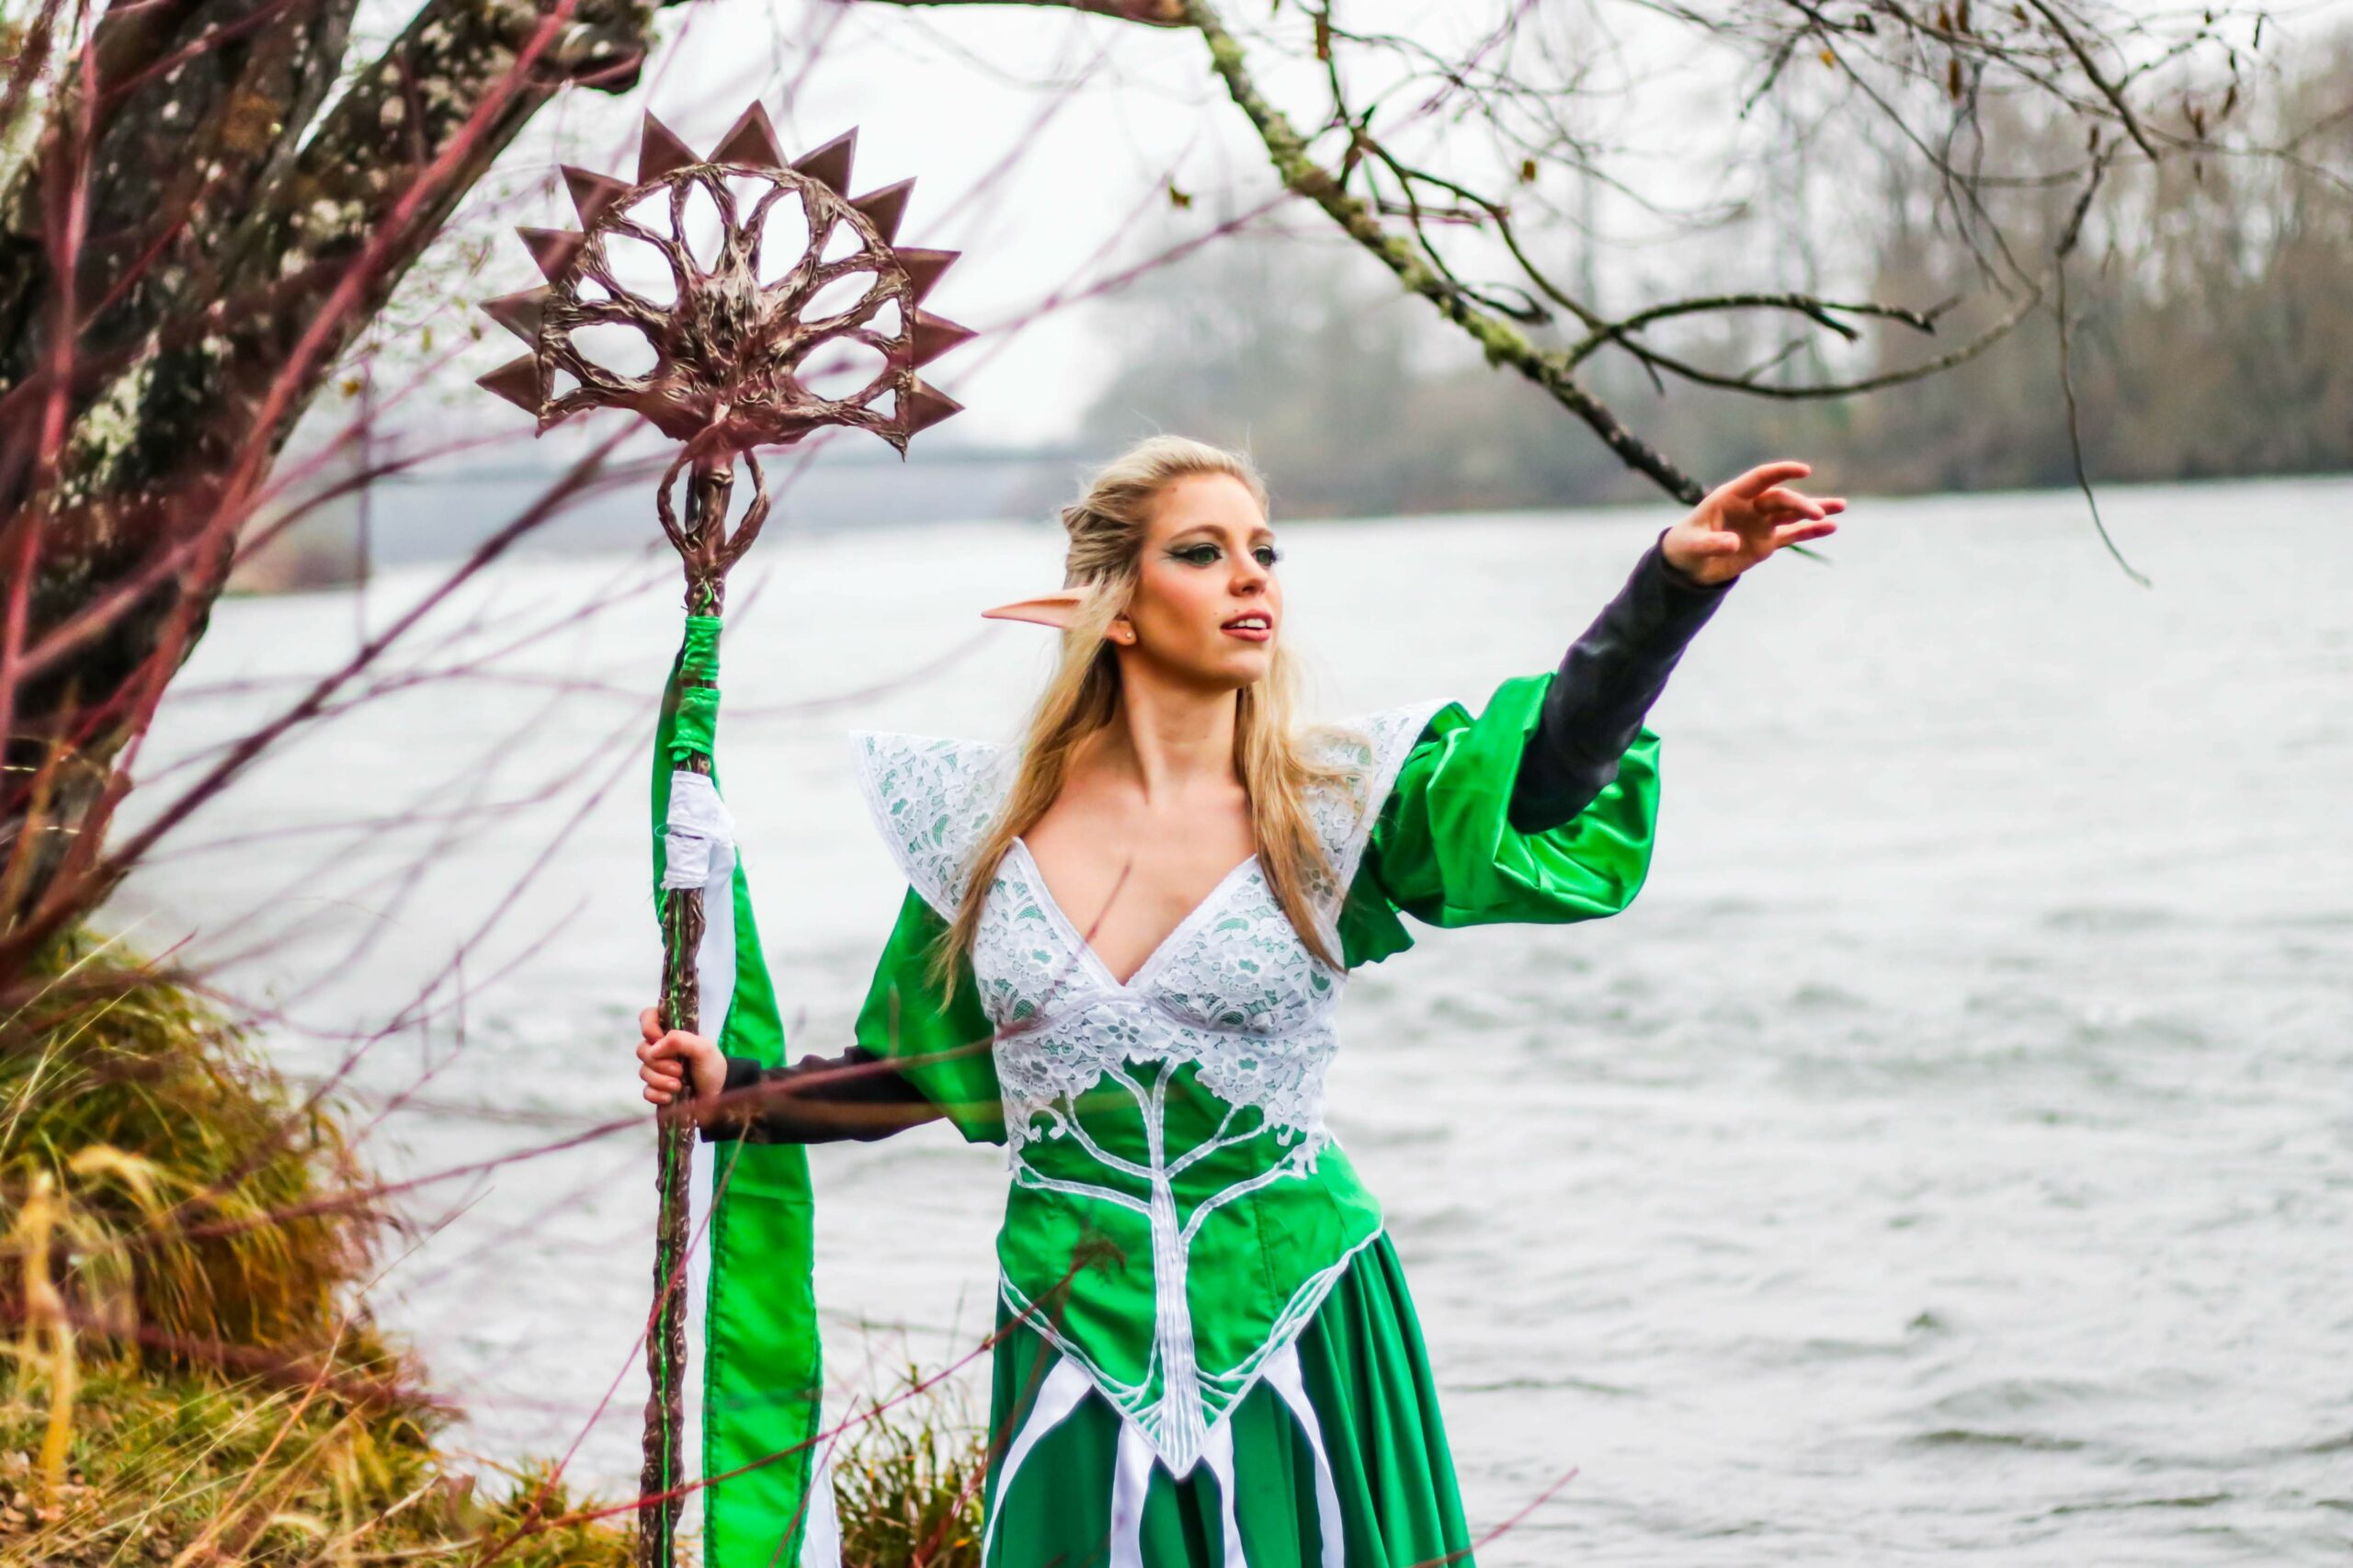
Jana as Liliana
Anatomy
Before we dive into the construction of a corset, let’s look at it’s anatomy to better understand the vocabulary used to make the form fitting fashions. Corsets may be overbust or underbust, exactly how it sounds. An underbust may be worn by itself like on Rakish Heir, or may be a piece of a garment to accent the body with a seam. An overbust will cover not just the midsection but also the breasts.

In order to stack up the shape, corsets are typically made of 2-3 layers of fabric, the shell (fabric seen on the outside of the garment), the strength layer (like a lining, a strong fabric to help keep the mold usually cotton twill or thick coutil), and sometimes interfacing (a papery fabric to stiffen areas) hidden between the shell and the strength layer. Last but not least, the corset’s shape is created by adding boning–not bones–but we’ll explain this term more below.
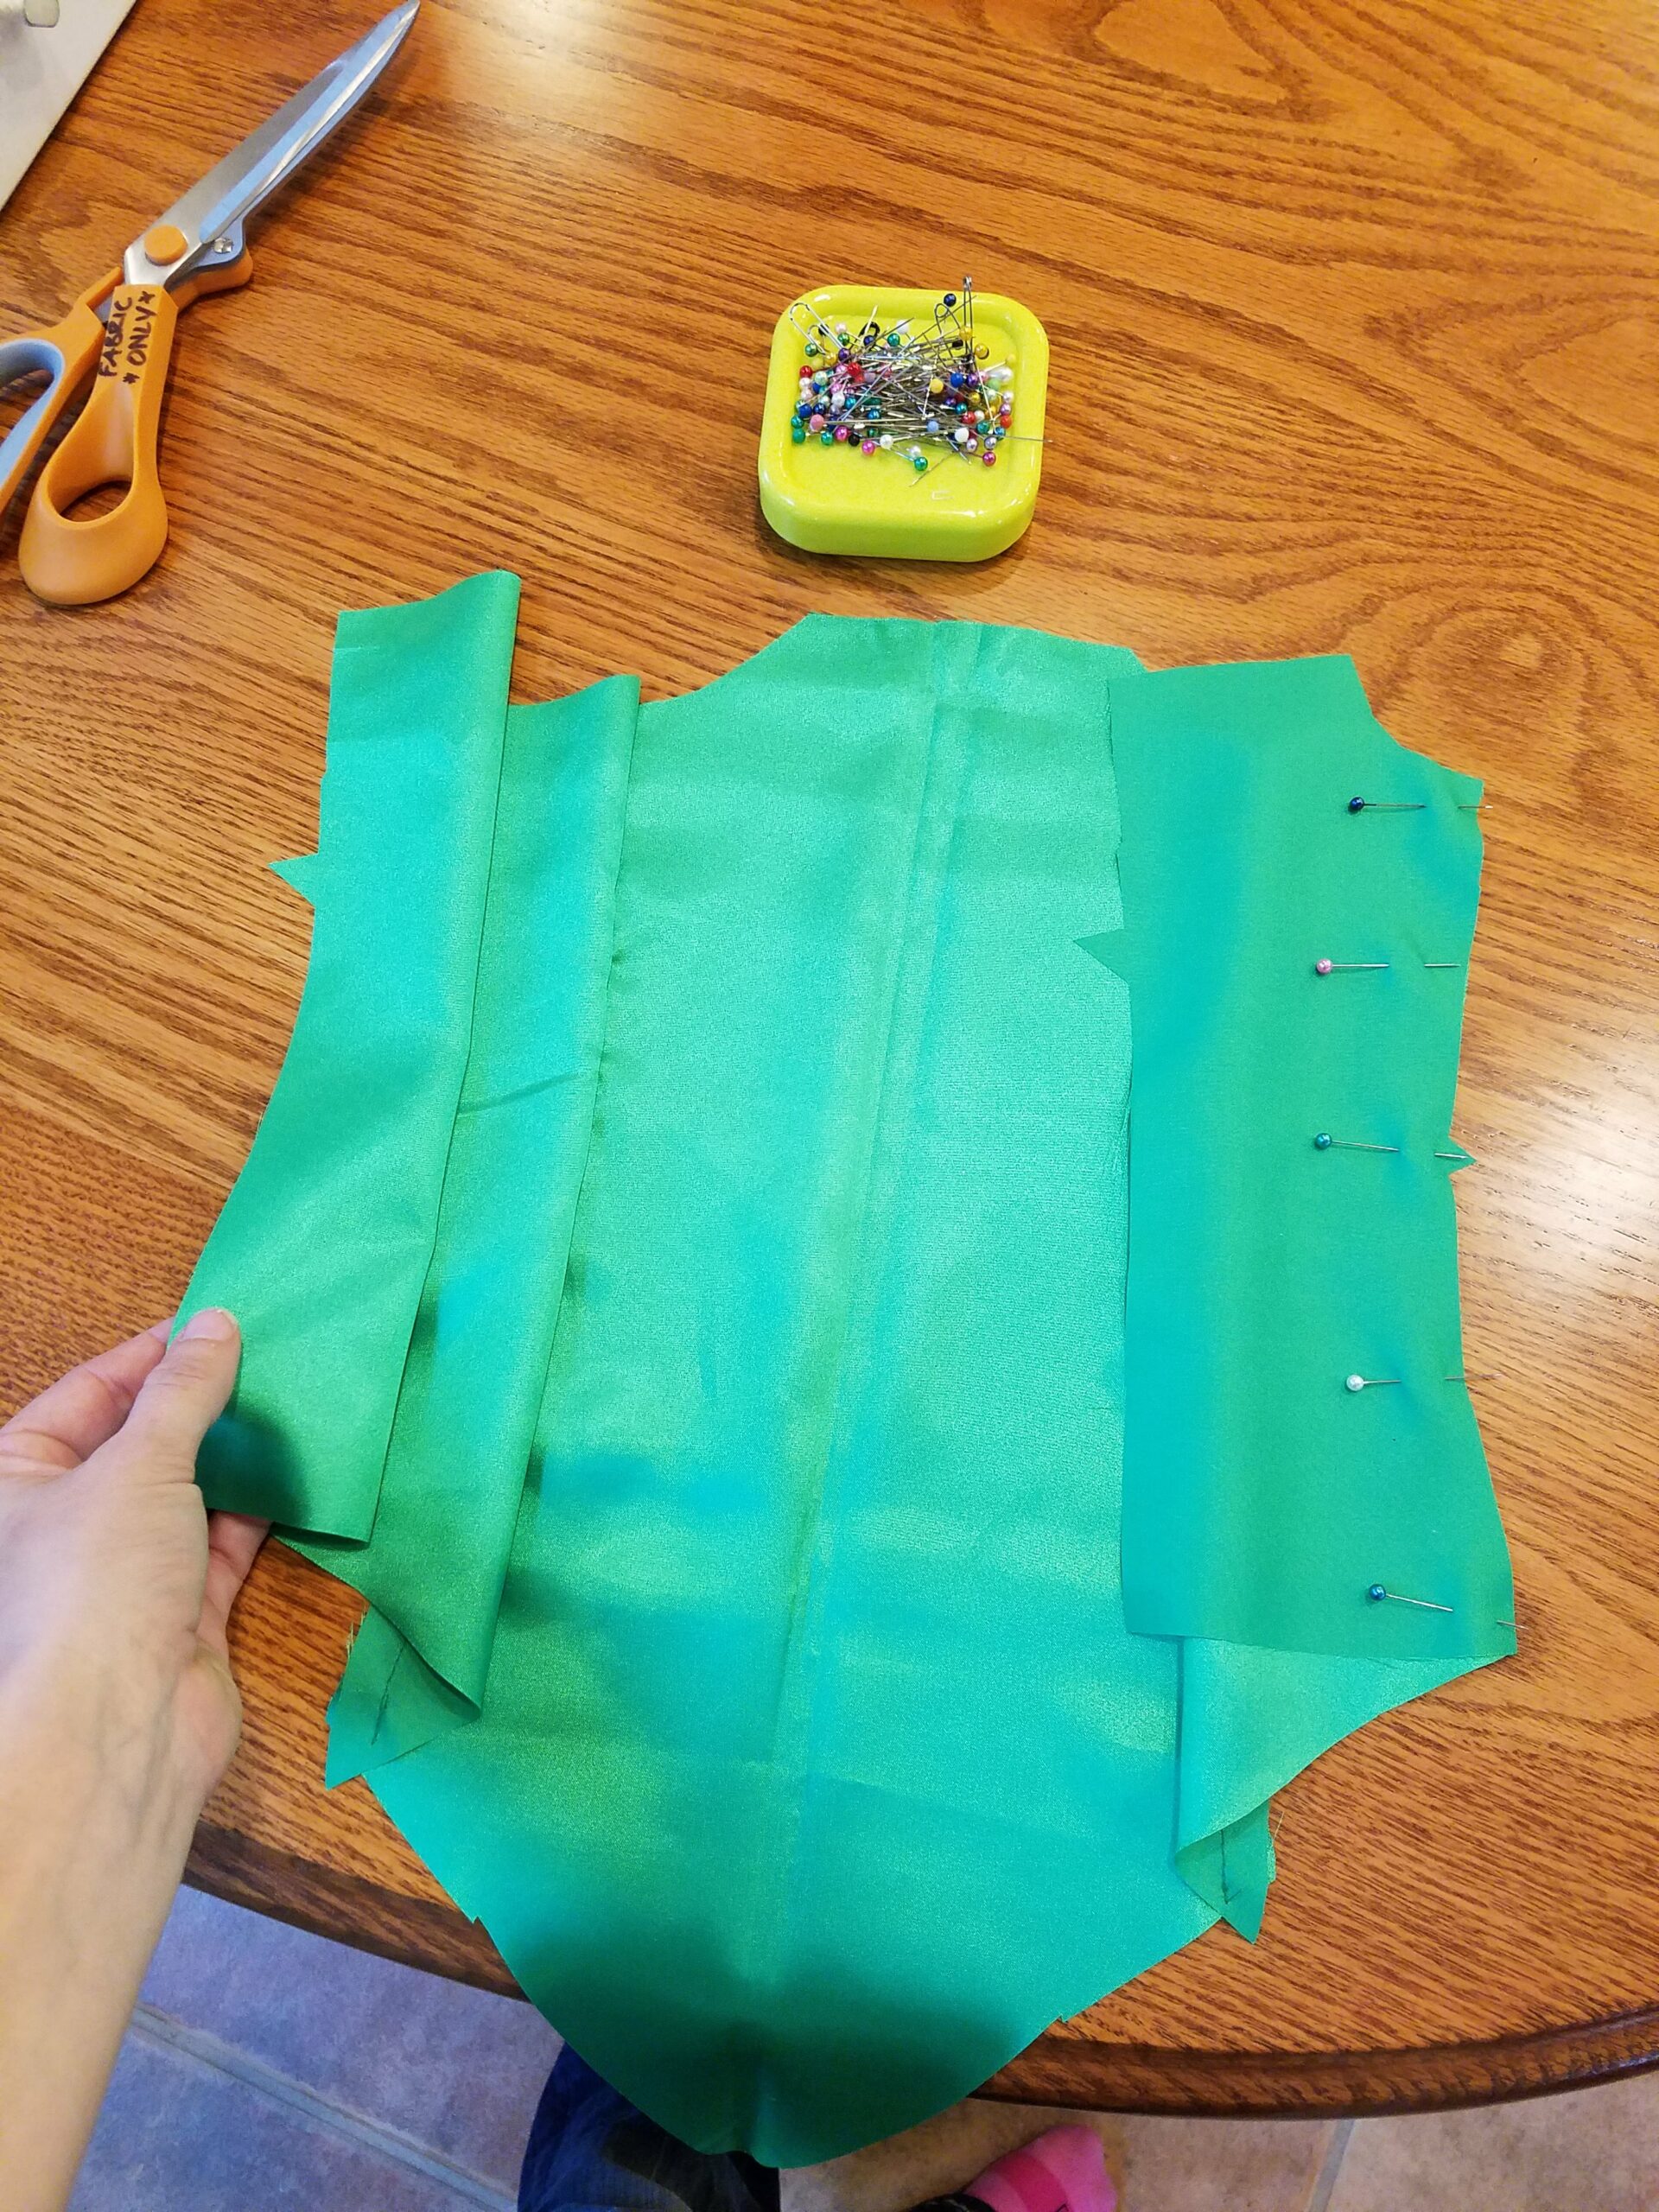
Pattern
If you don’t know where to start, a pattern is the best place for “corset patterns have some of the clearest instructions,” says Mikaela. Not only will they contain all the pattern pieces, but also directions on the back for fabric yardage and notions needed (notions are all the extras to construct, buttons, bias tape, ribbon, zippers ect, or sewing accessories). Your pattern will tell you everything you need to buy before leaving the store if you read carefully.
Depending on your desired shape across the bottom and top of the corset will help you choose a pattern, but if you’d like a starting point Jana has used McCall’s M2034 and Yaya Han 7398 for her corsets. She says the hardest part for her is, getting the initial fit, “I try to save mockups from previous projects but I’m finding that I always end up making another based on different projects”. Because every body has different dimensions, Arielle reminds us, “it’s very hard to just use a pattern right out of the packaging” and you should be aware, “there will always be modifications.” Don’t be daunted, Jana says the easiest part of making a corset is, “sewing the final edit together” and Arielle agrees, “once you get the sizing down putting it together is super easy: time consuming, but easy.”
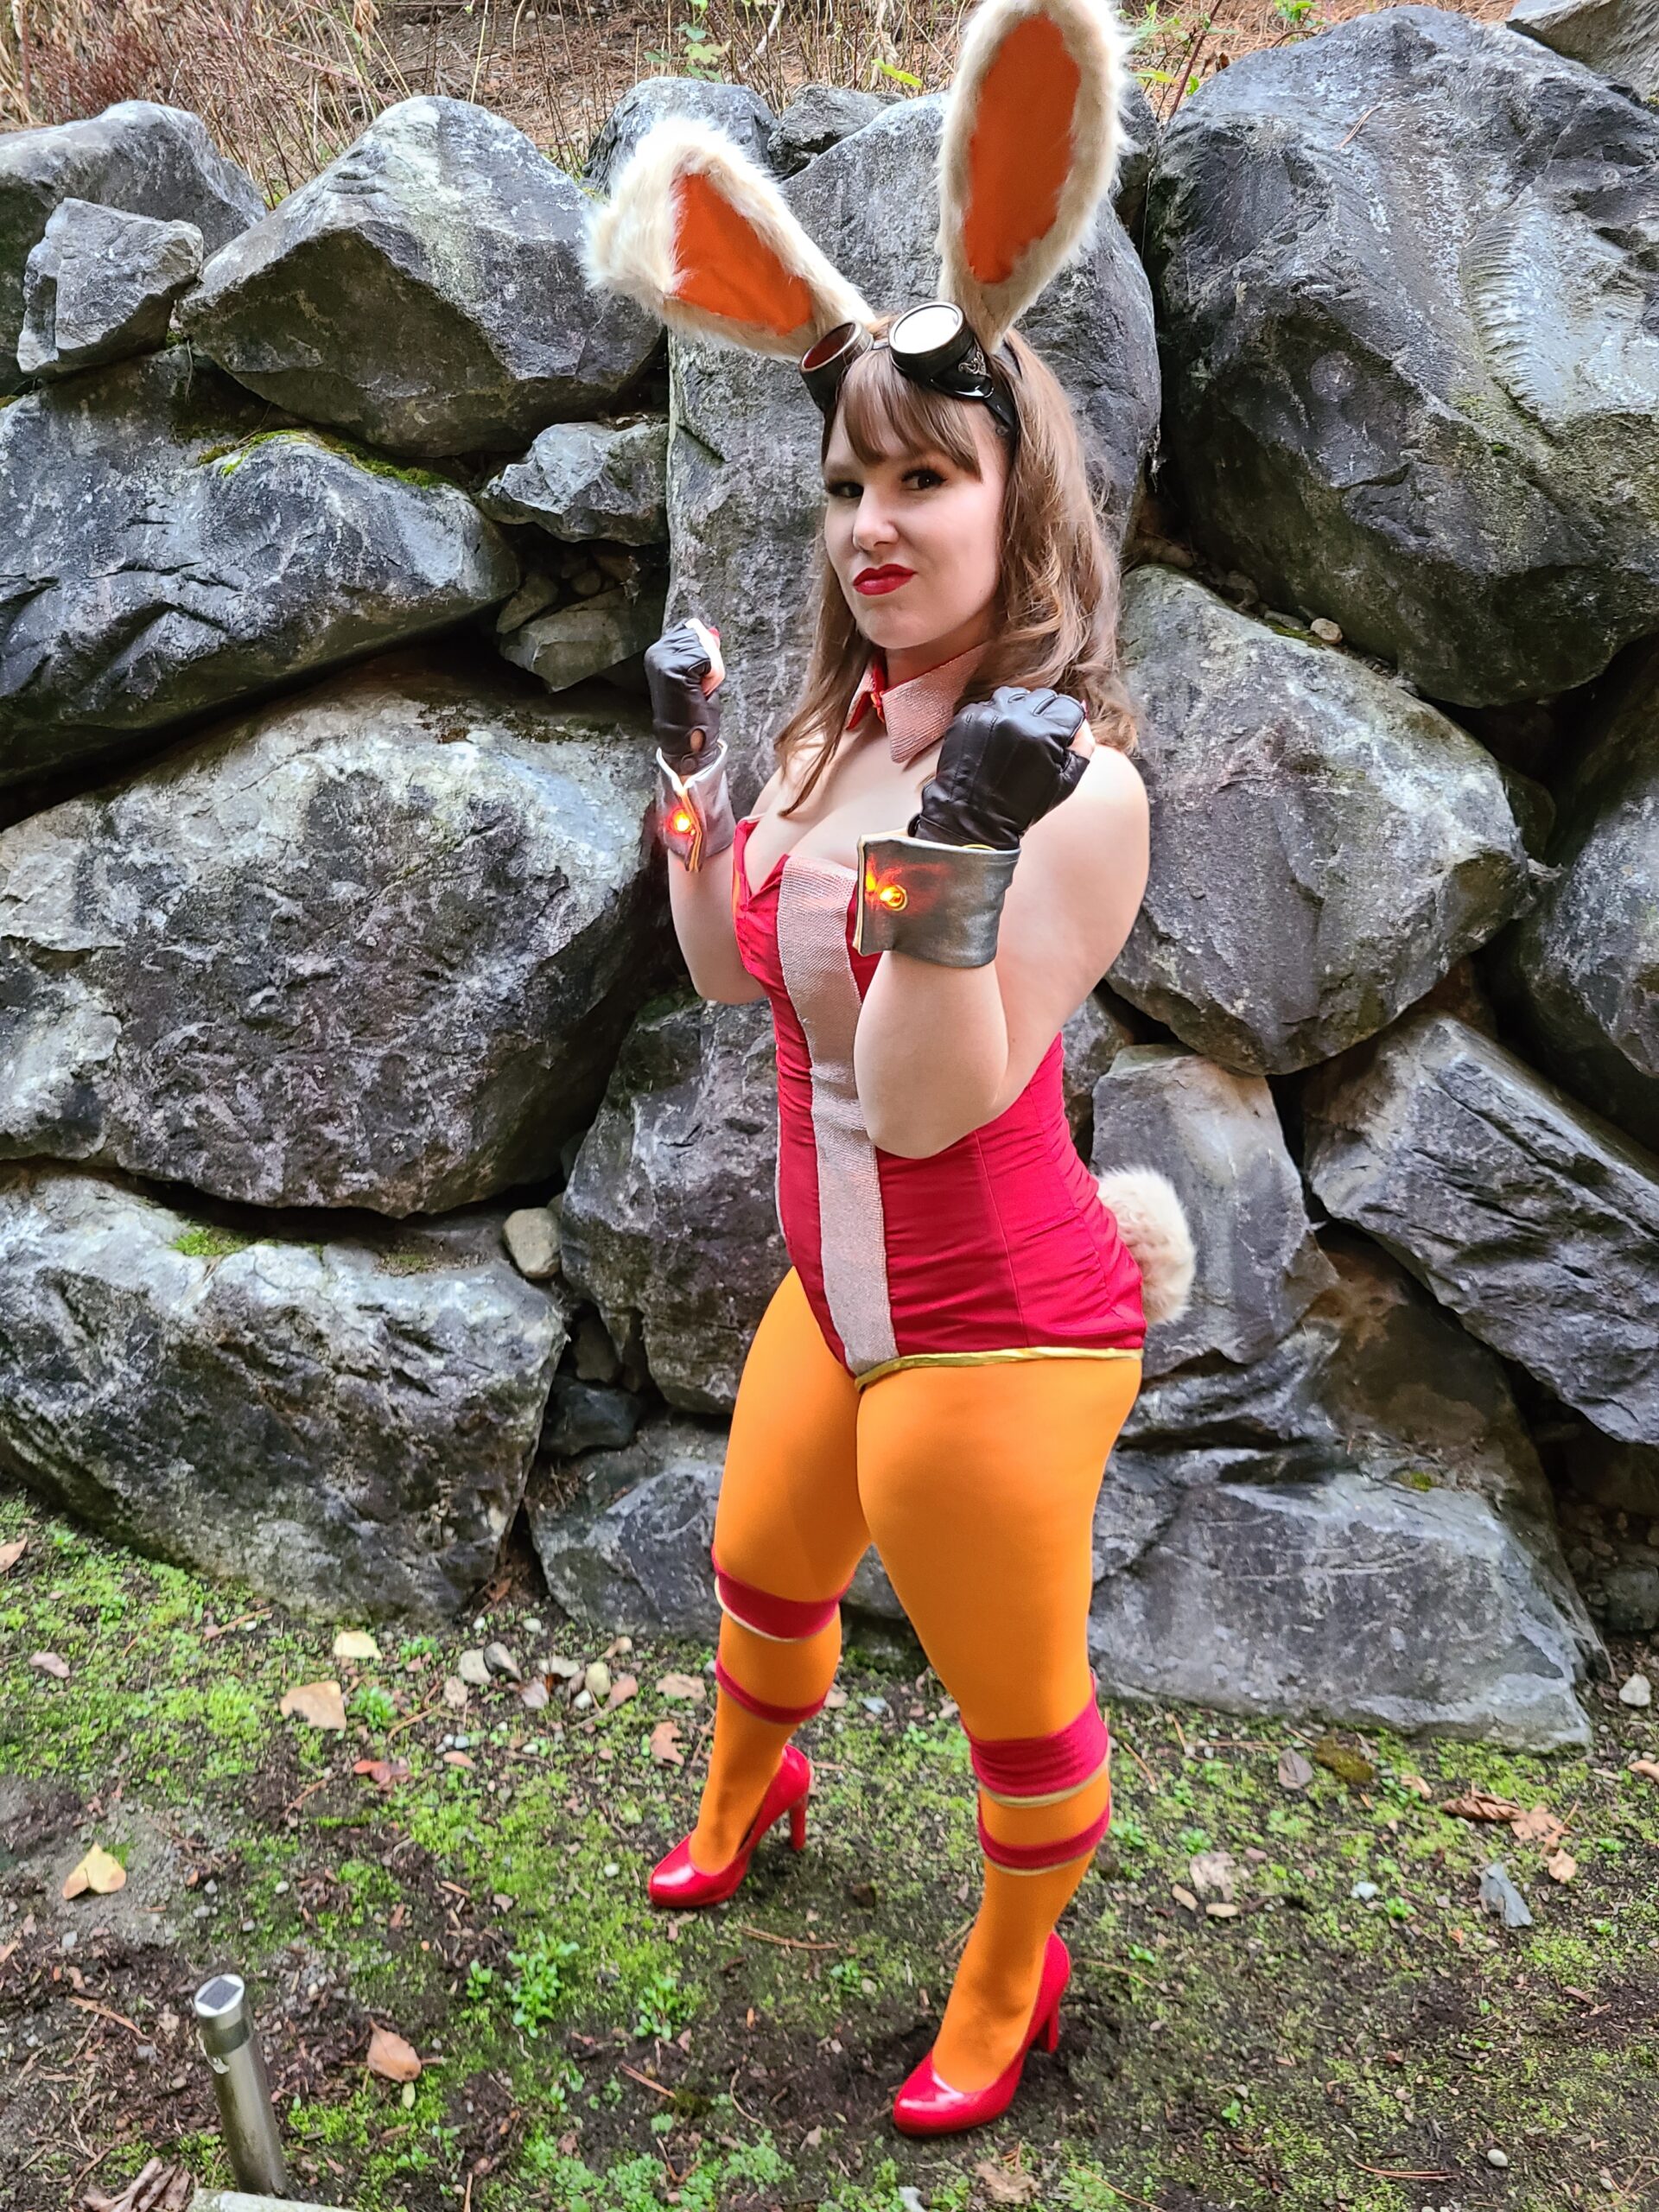
Arielle as Chandra
Construction
Once you’ve cut all of your pattern pieces out, twice (one set for your fabric shell and one set for your lining), it’s time to sew them all together. Two main methods are used: flatlining and stand-alone lining. With flatlining, you are mounting the two layers directly on top of one another. Once the side seams are sewn in with flatlining you will treat it as a singular piece of fabric. The advantages are panels may be adjusted more easily, but the boning will show and may be difficult working with thick fabric on a regular sewing machine. With stand-alone lining you are sewing each layer separately, then combining them front to back by binding at top and bottom. This method puts less stress on fragile fabrics which tend to fray, but it can take more care to make sure your seam lines of the shell and strength layer match up when sewn together. The stand-alone lining also hides the boning.
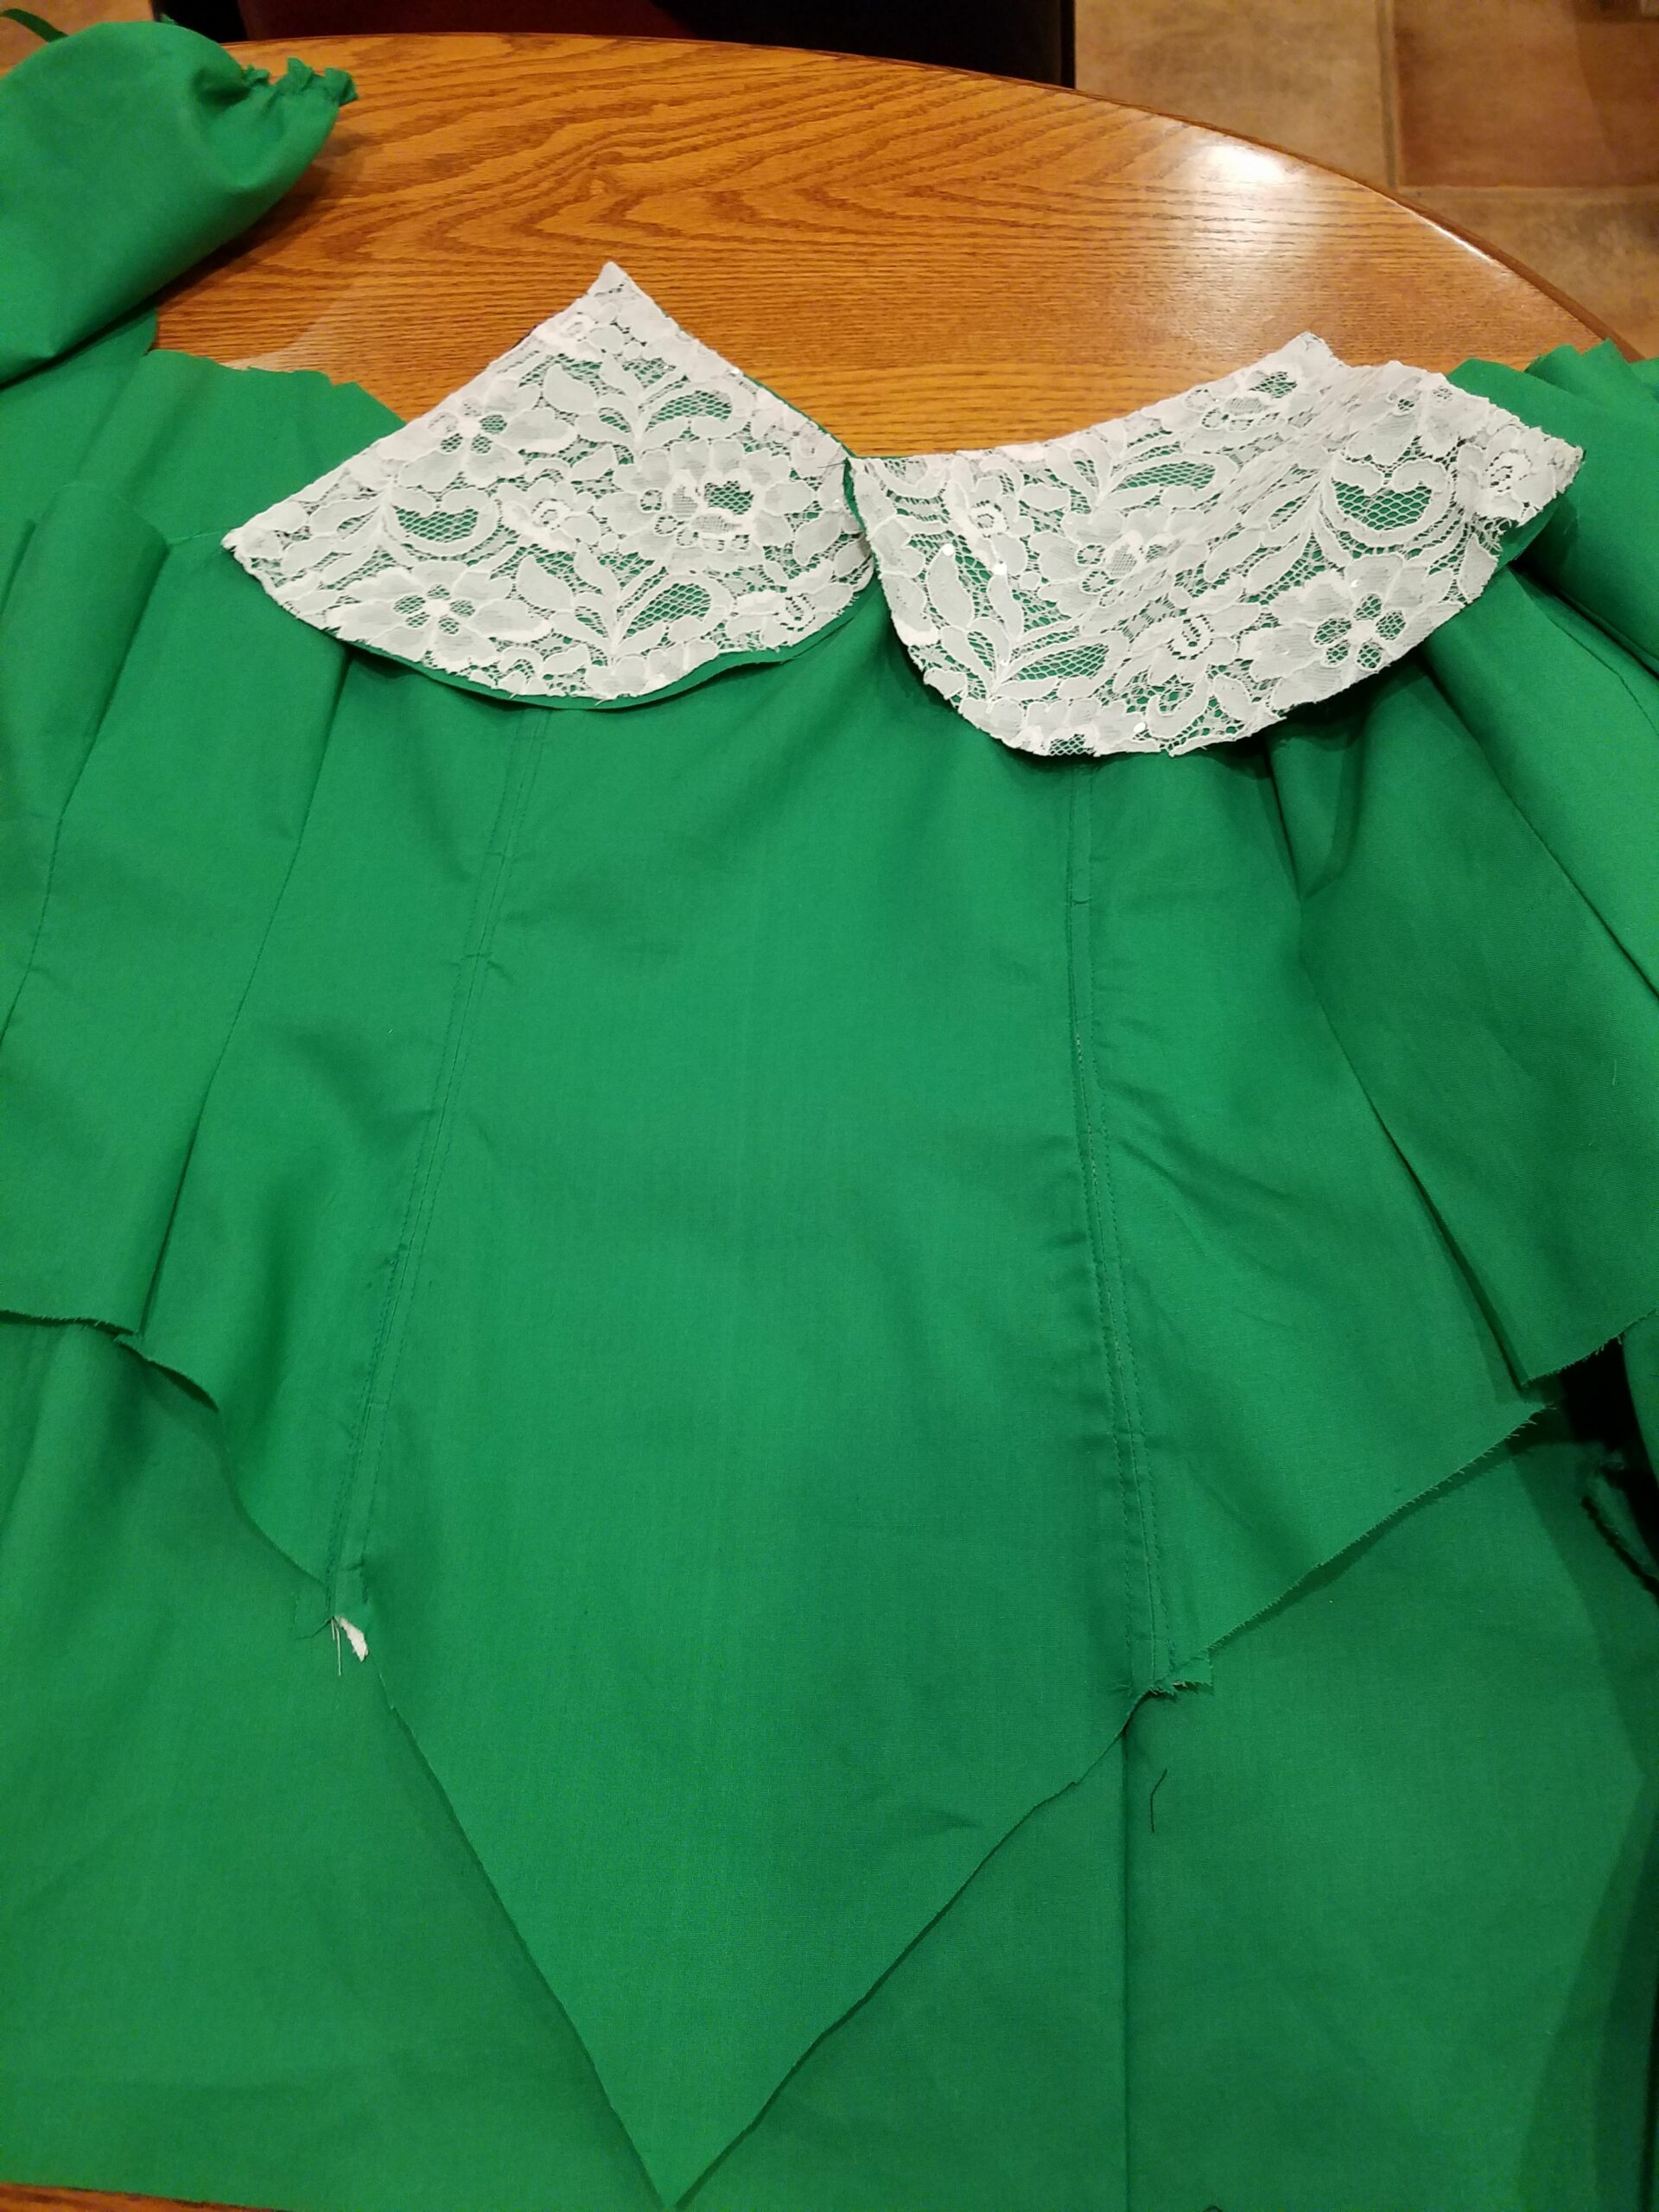
Left: The strength layer of Zenaide’s Emmara corset sewn with boning on the seams. Right: Showing she used the stand-alone method, the matching shell pieces (half complete).
What is Boning?
Similar to our own anatomy, a corset contains boning, or the skeleton helps keep the shape and avoid wrinkles. Boning is usually ½” to ¼” wide, flat, and sometimes comes on a spool like thread or may come pre-cut. If flatlined you will see the ridges where the boning is hidden, where in stand-alone lining the boning is hidden with-in each side seam. With metal and wooden boning, channels need to be made to contain the pieces. I first used plastic boning for my Emmara cosplay because my sewing needle may pierce through it without breaking by being gridded so it can be fixed permanently in place. However, all three of our guest cosplayers prefer steel boning and Mikaela says, “steel boning is amazing and significantly better than plastic and not really something too pricey for the value it adds”.
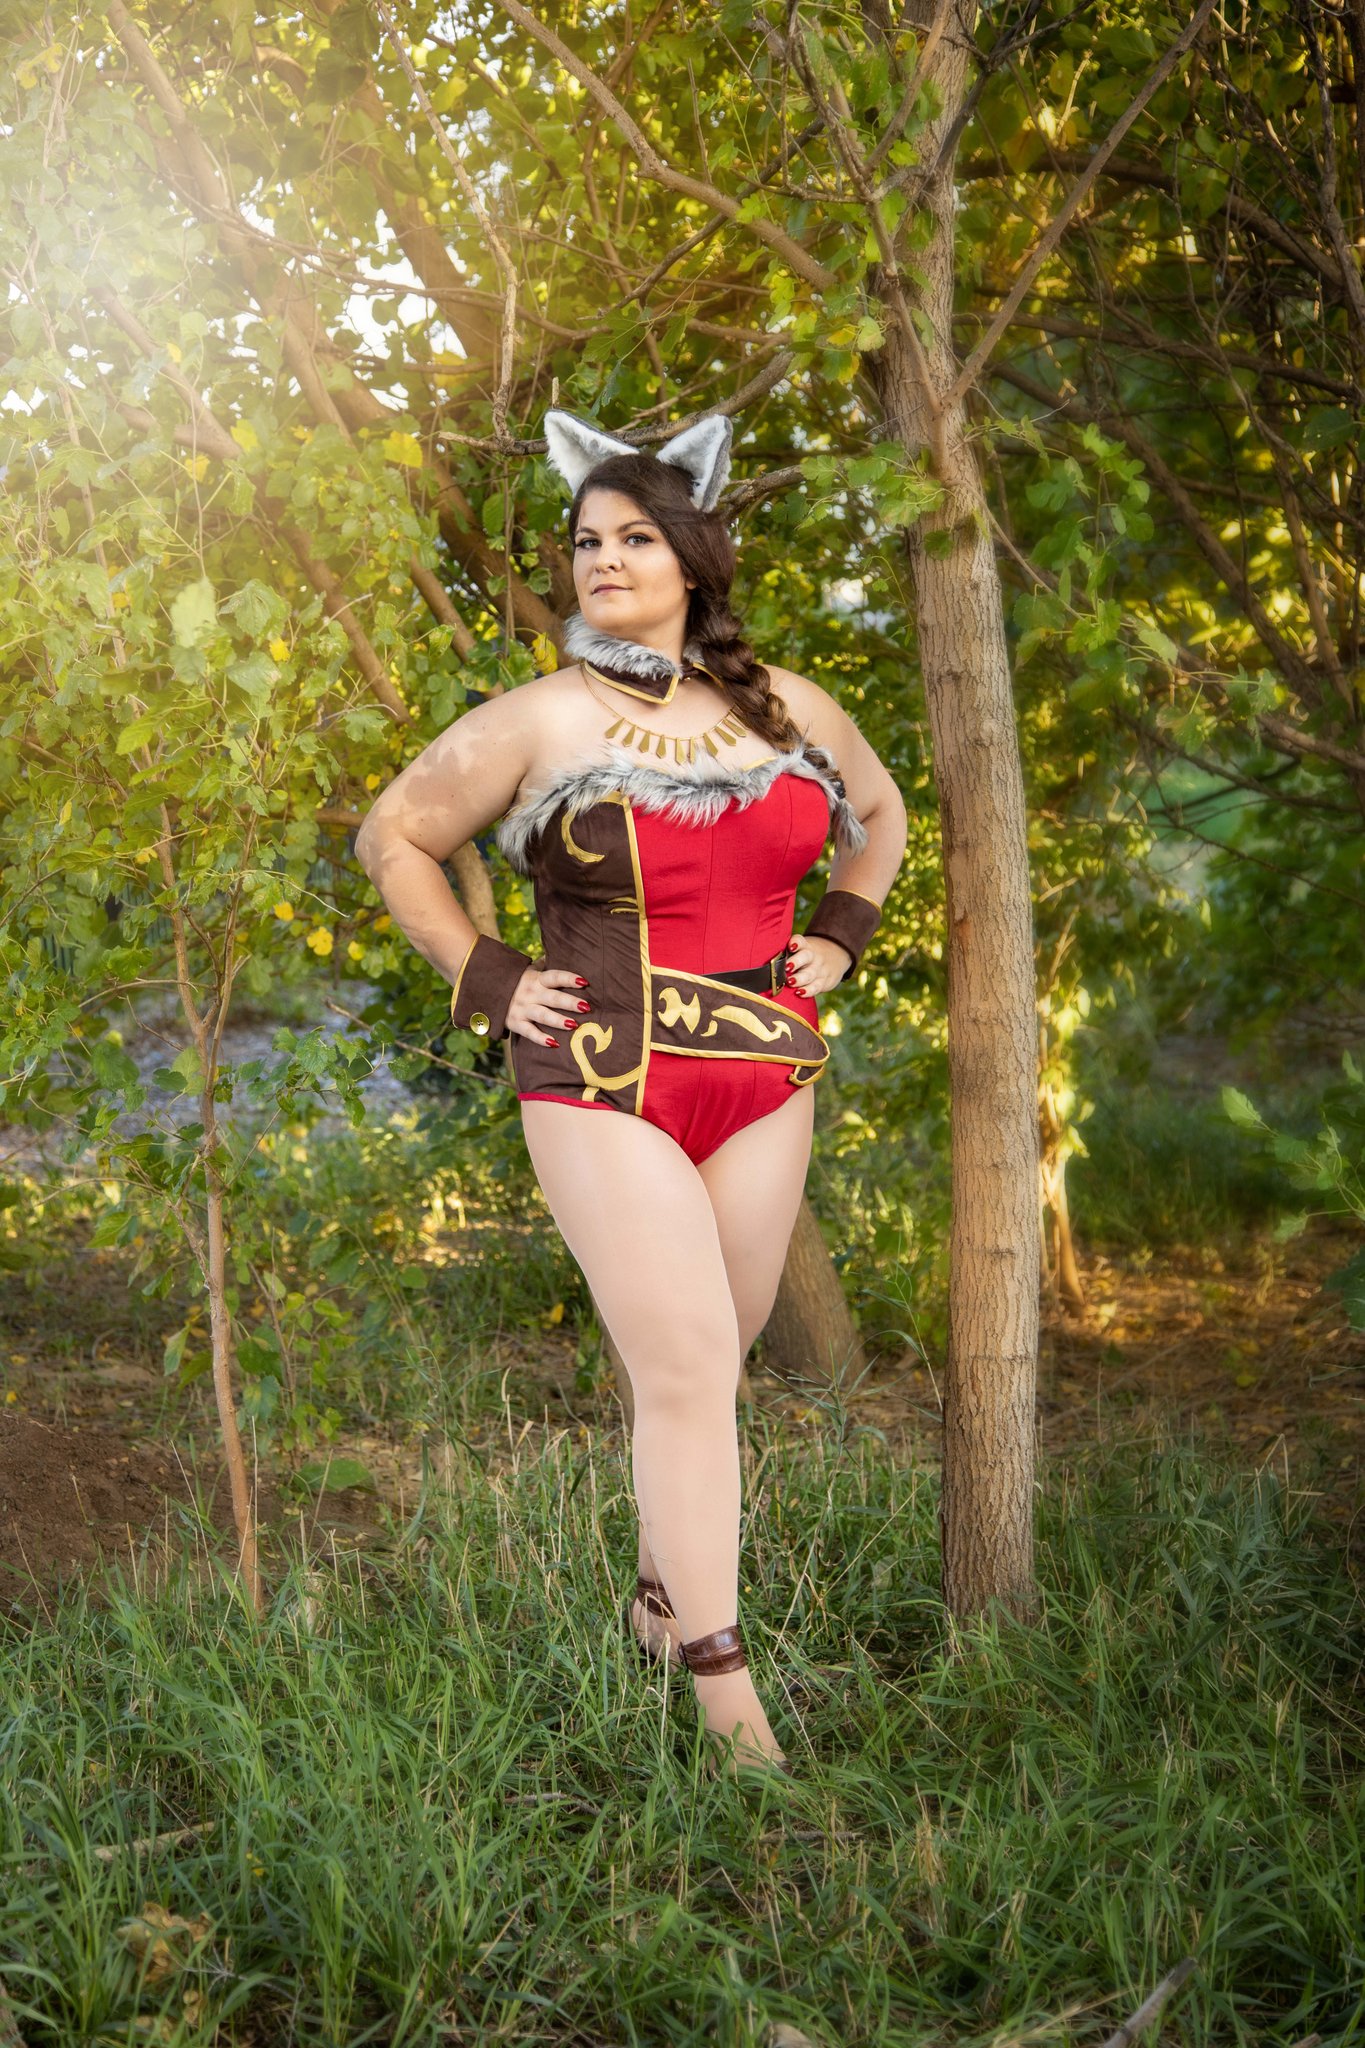
Mikaela as Arlinn Kord
When the structure of the corset is complete, only a few finishing details remain. Waist tape is sometimes sewn into the interior to keep the fabric from stretching over time and losing shape. Others finish their lower and upper edges with a binding. “It takes a lot of patience to cleanly apply the bias tape,” says Mikaela, but is worth it for the accented look. The final step is to add closures. Most commonly used are: grommets accompanied by lacing or a busk, which is two long pieces of steel one with hooks and one with eyes.
Tips
For anyone attempting, our cosplay guests provided some helpful tips. To eliminate possible frustrations Mikaela recommends using, “fabrics that are easy to work with for your first” as one should avoid thin and stretchy fabrics. When it comes to the construction Arielle reminds, “it looks intimidating because of how many pieces there are but the amount of pieces does not equate to difficulty, and there are tons of helpful tutorials.” One thing the pieces do amount to, however, is time; “it is actually very simple, just time consuming. Anything is possible with fabric if you take your time with it.” states Jana.
Zenaide as Emmara, Photograph by Travis Duran
That’s a wrap on corsets! May your learning curve be as pronounced as the curves created by this classic piece of clothing. In my own first corset, I learned a lot and would do a few things differently, like give steel boning a try and ironing a lot more frequently throughout the process. The thing about sewing, like playing games of Magic, is you won’t know the outcome of a match until you try it.
Schools out for summer currently—but some may want to stay wrapped up in the Wizarding world of Strixhaven. Next time, we’ll be taking a cosplay course on ways to achieve your favorite Strixhaven looks and getting insight from some Deans and Students who attended in 2021.
Zenaide “ZBexx” Beckham is an Oregon-based cosplayer, gamer, and MTG judge. Her favorite format is Legacy, because just like performing in dance or cosplay she gets to Show and Tell.