
by Michael Findley
Animation comes in many forms. Many talented illustrators create keyframes, or key moments in action, and use software or illustration to complete the frames between. I am not one of those. Instead I pull from Magic’s pool of incredible artists and slice and dice their art into separate layers, carefully filling in the gaps and rigging the characters as virtual paper puppets. This process can be incredibly time consuming and tedious, but hopefully you agree that the end result can be pretty awesome. These are the steps I follow during the process, but I’m always learning better ways of accomplishing the tasks of each step.
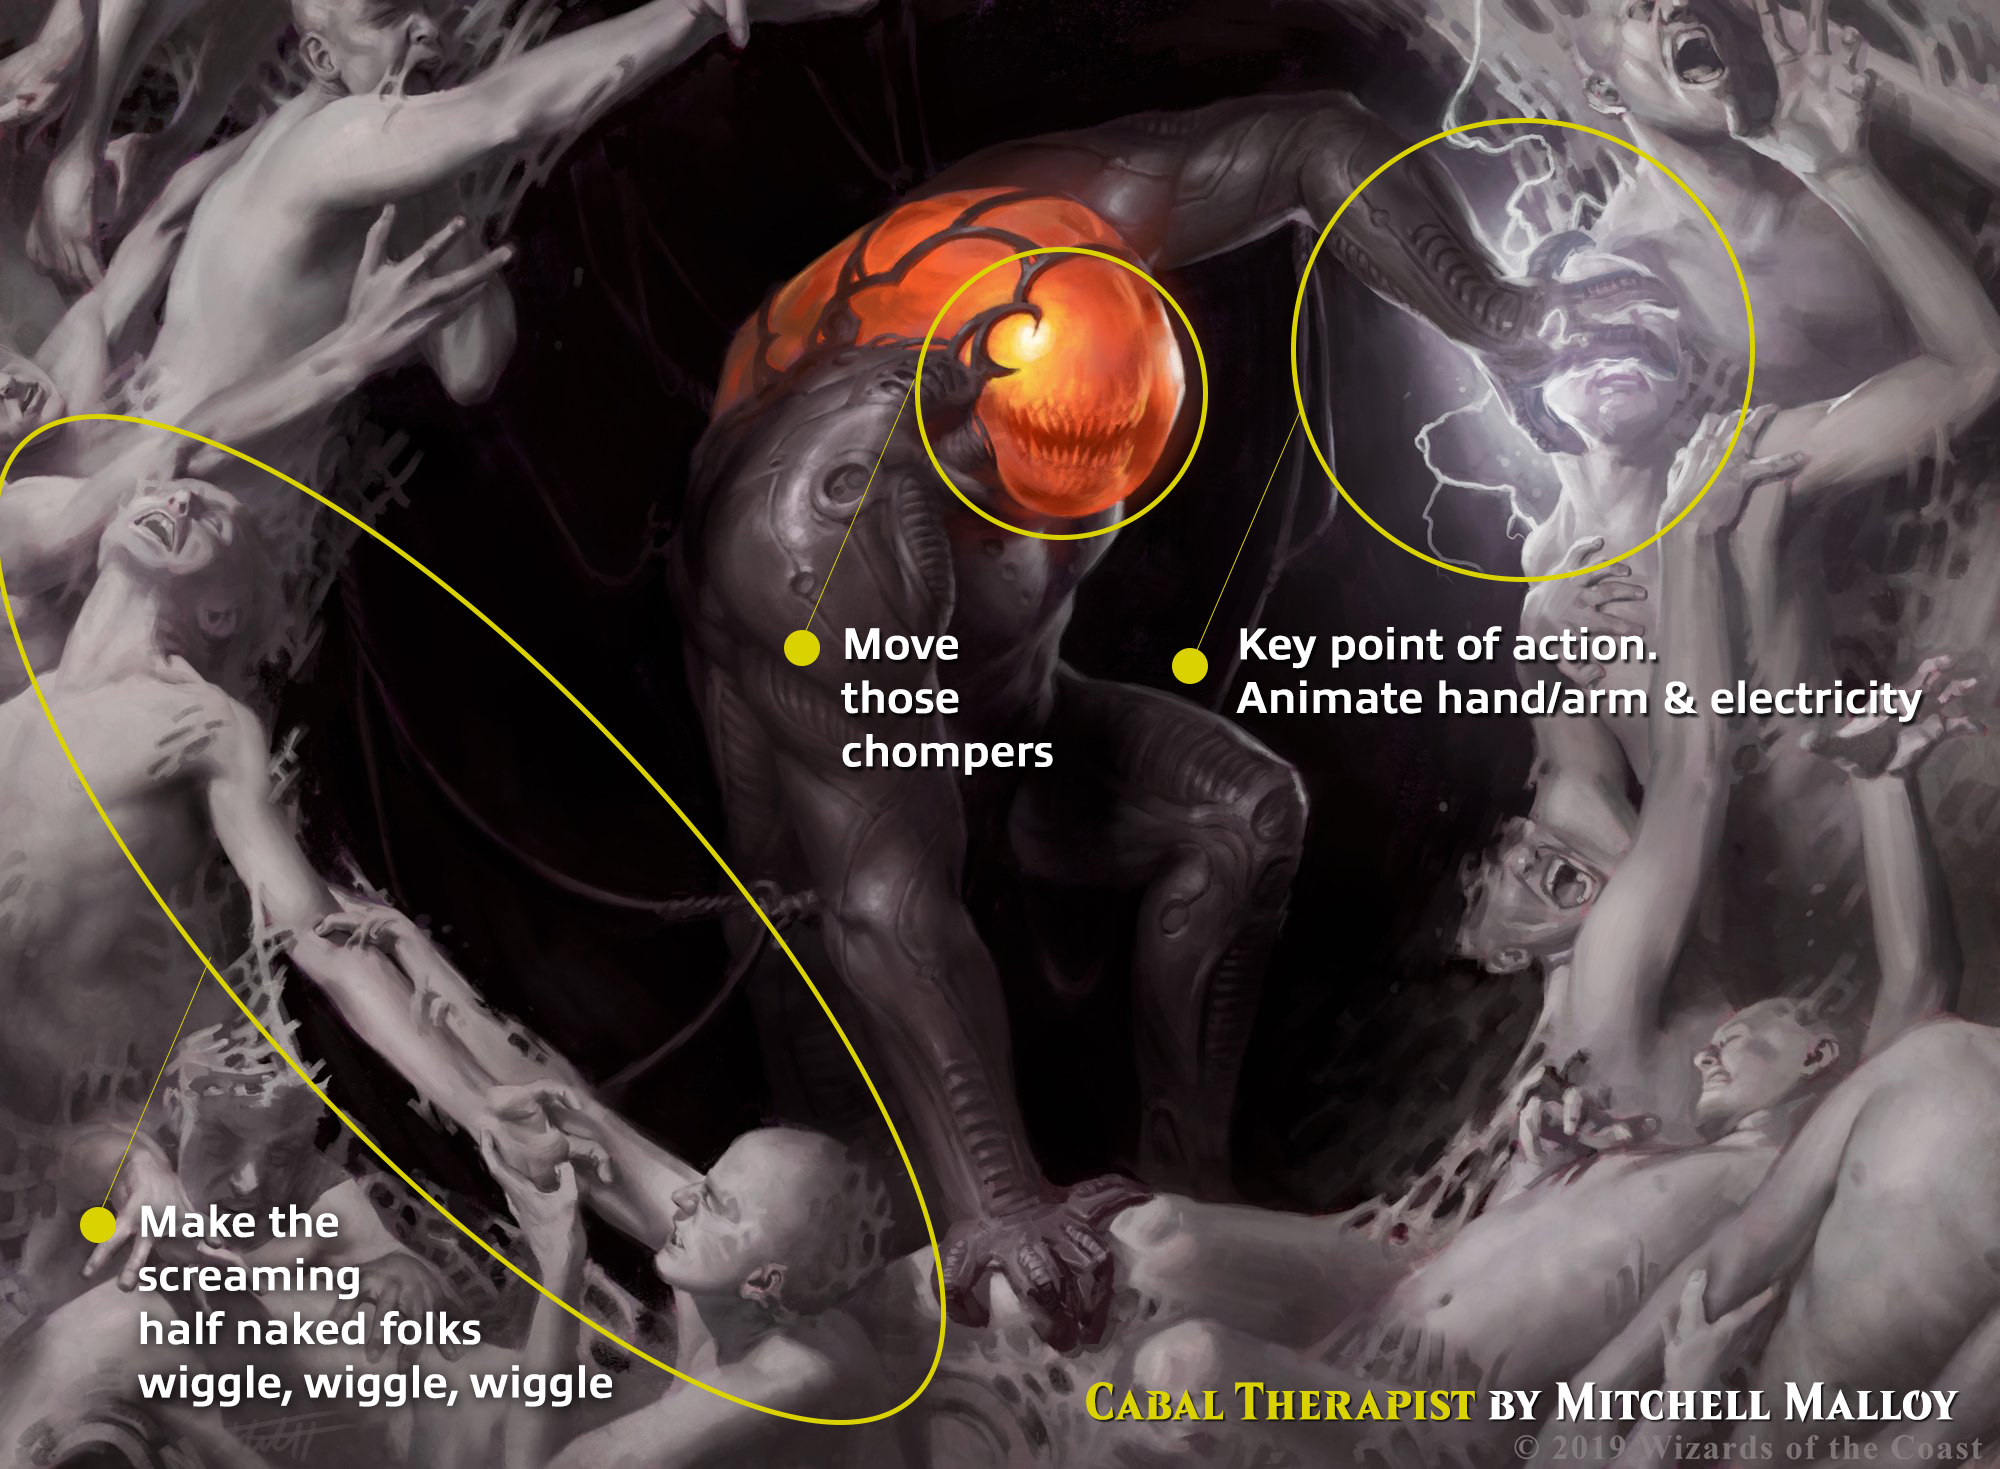
This may sound obvious, but the first thing I do is look at the art and start getting inspired. I look for key points that determine just how long of a project I’m looking at and the potential for an awesome moving image. Below is an example of the key things I found studying Cabal Therapist. I don’t actually write notes like this, but I probably should. This would be considered storyboarding in a more professional context.

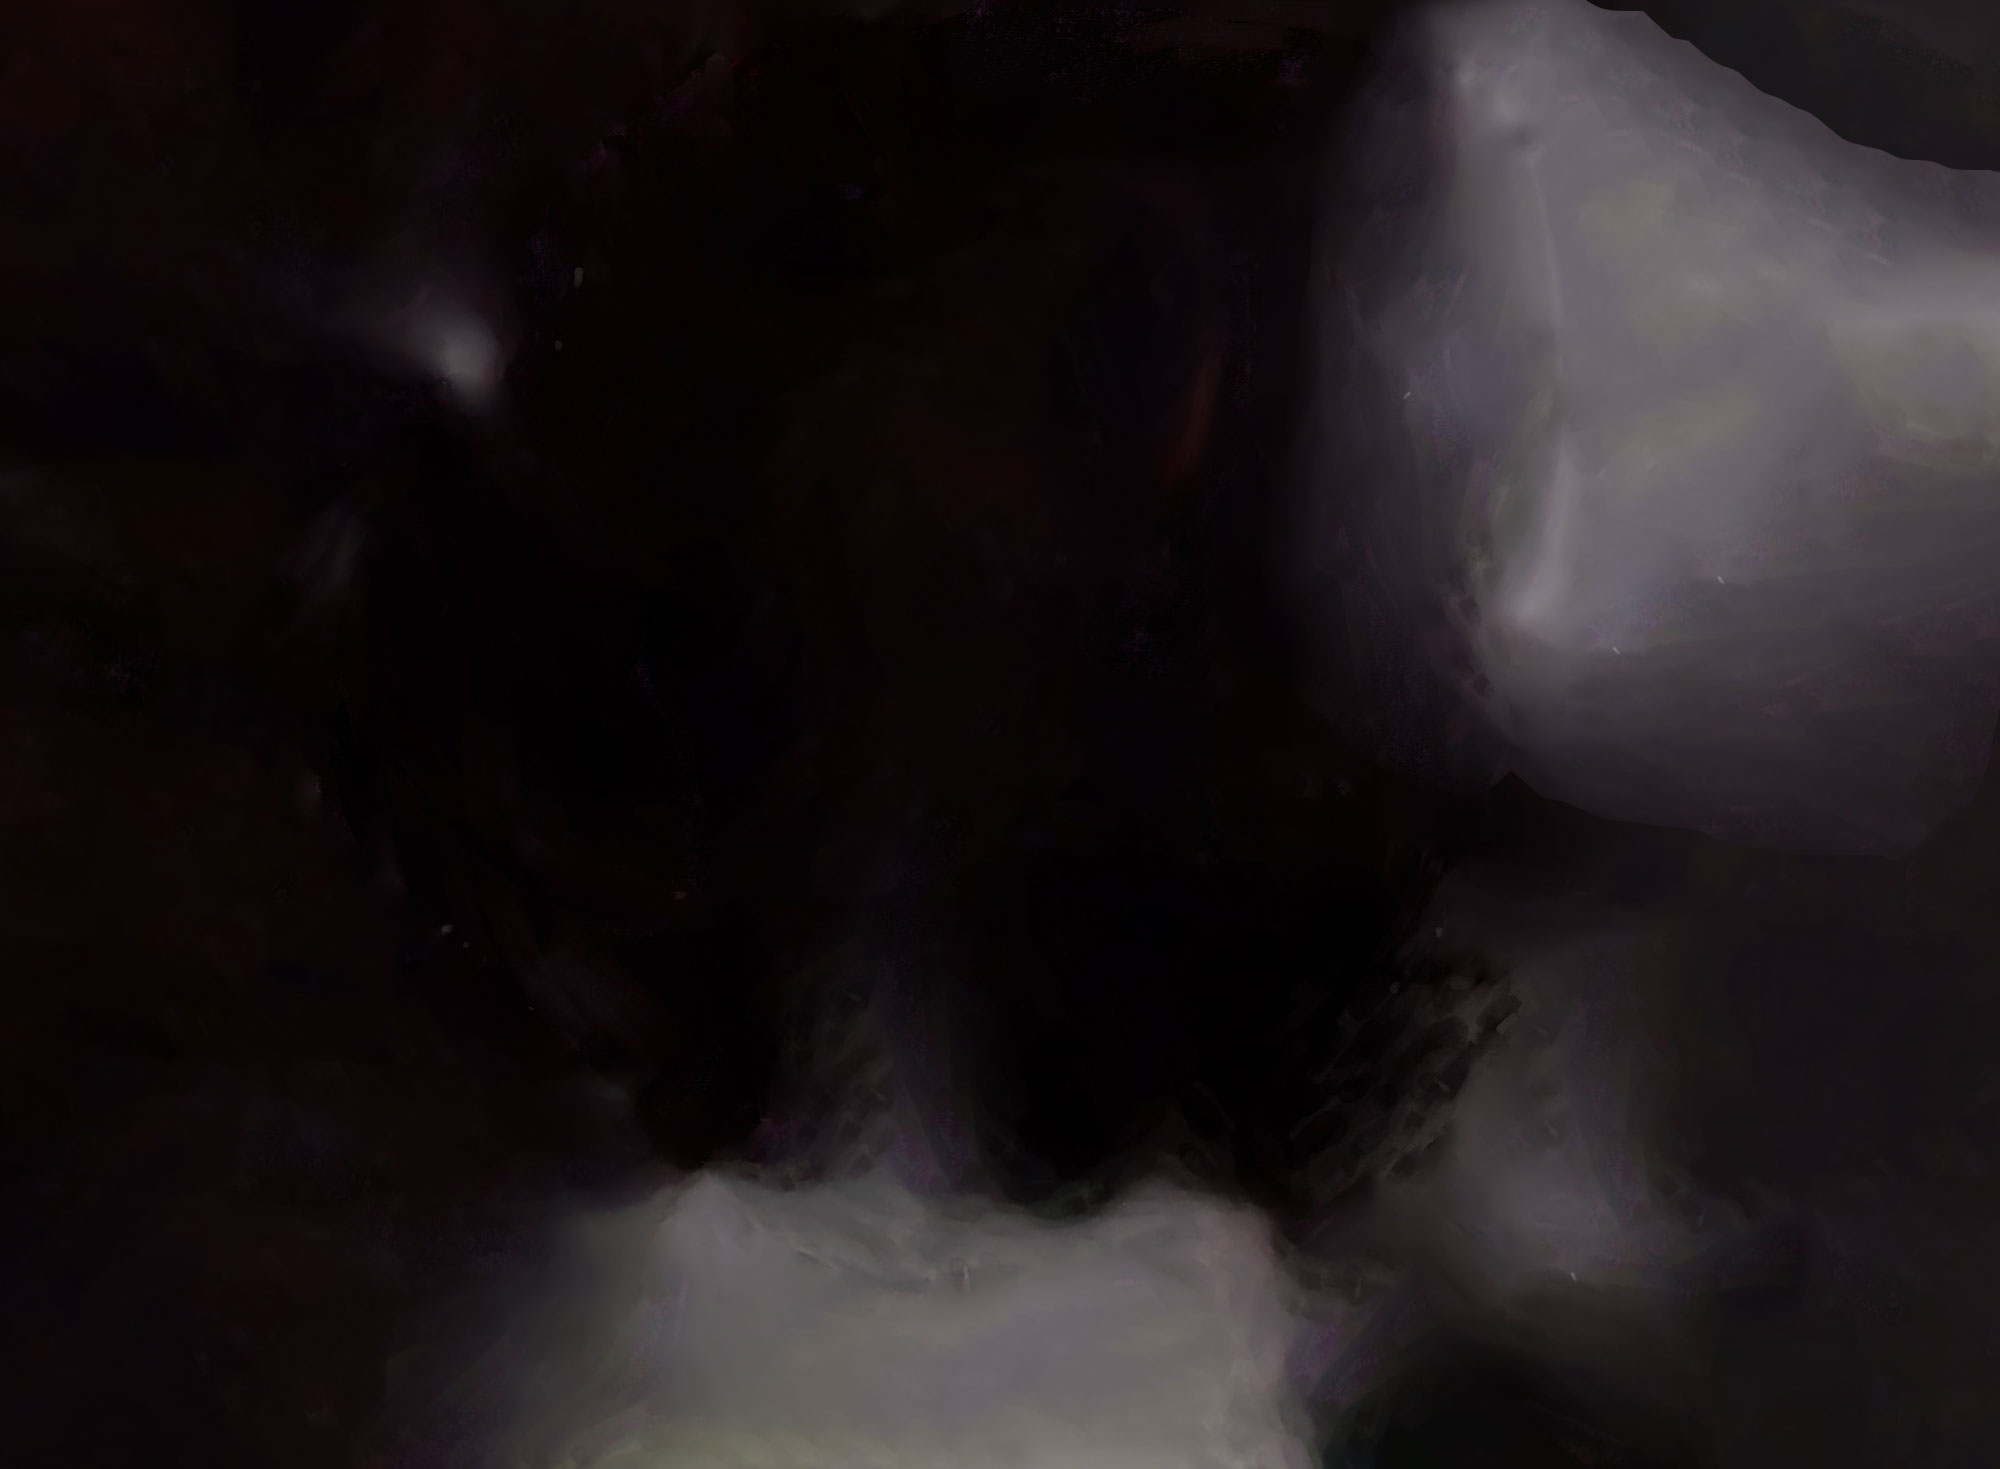
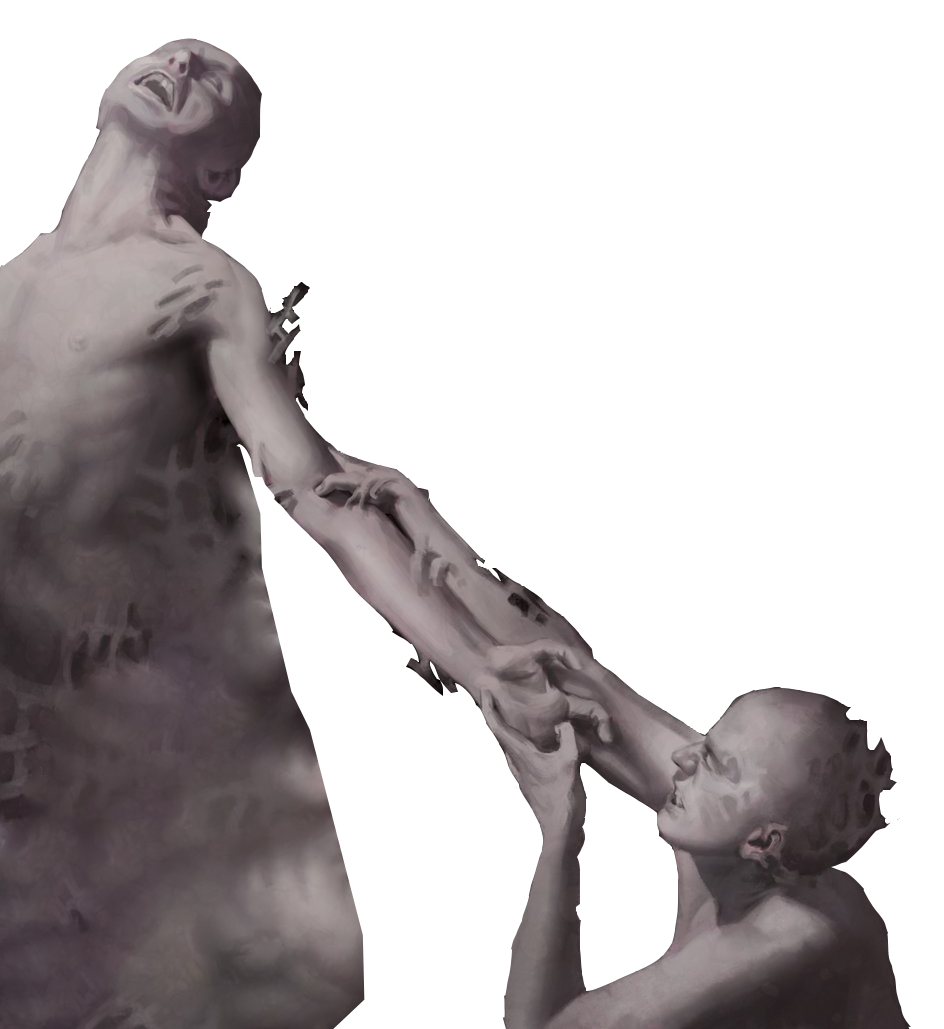
Now we dive into Photoshop. This part takes some time. So grab a snack, pull up your favorite podcast, and prepare for both frustration and zen. I have completed over 40 animations using this process, so I find this part fairly relaxing. I start by isolating each plane of the illustration. Here we can see the screaming souls and arms in the foreground, the therapist’s body in the middle ground, and the cave in the background.
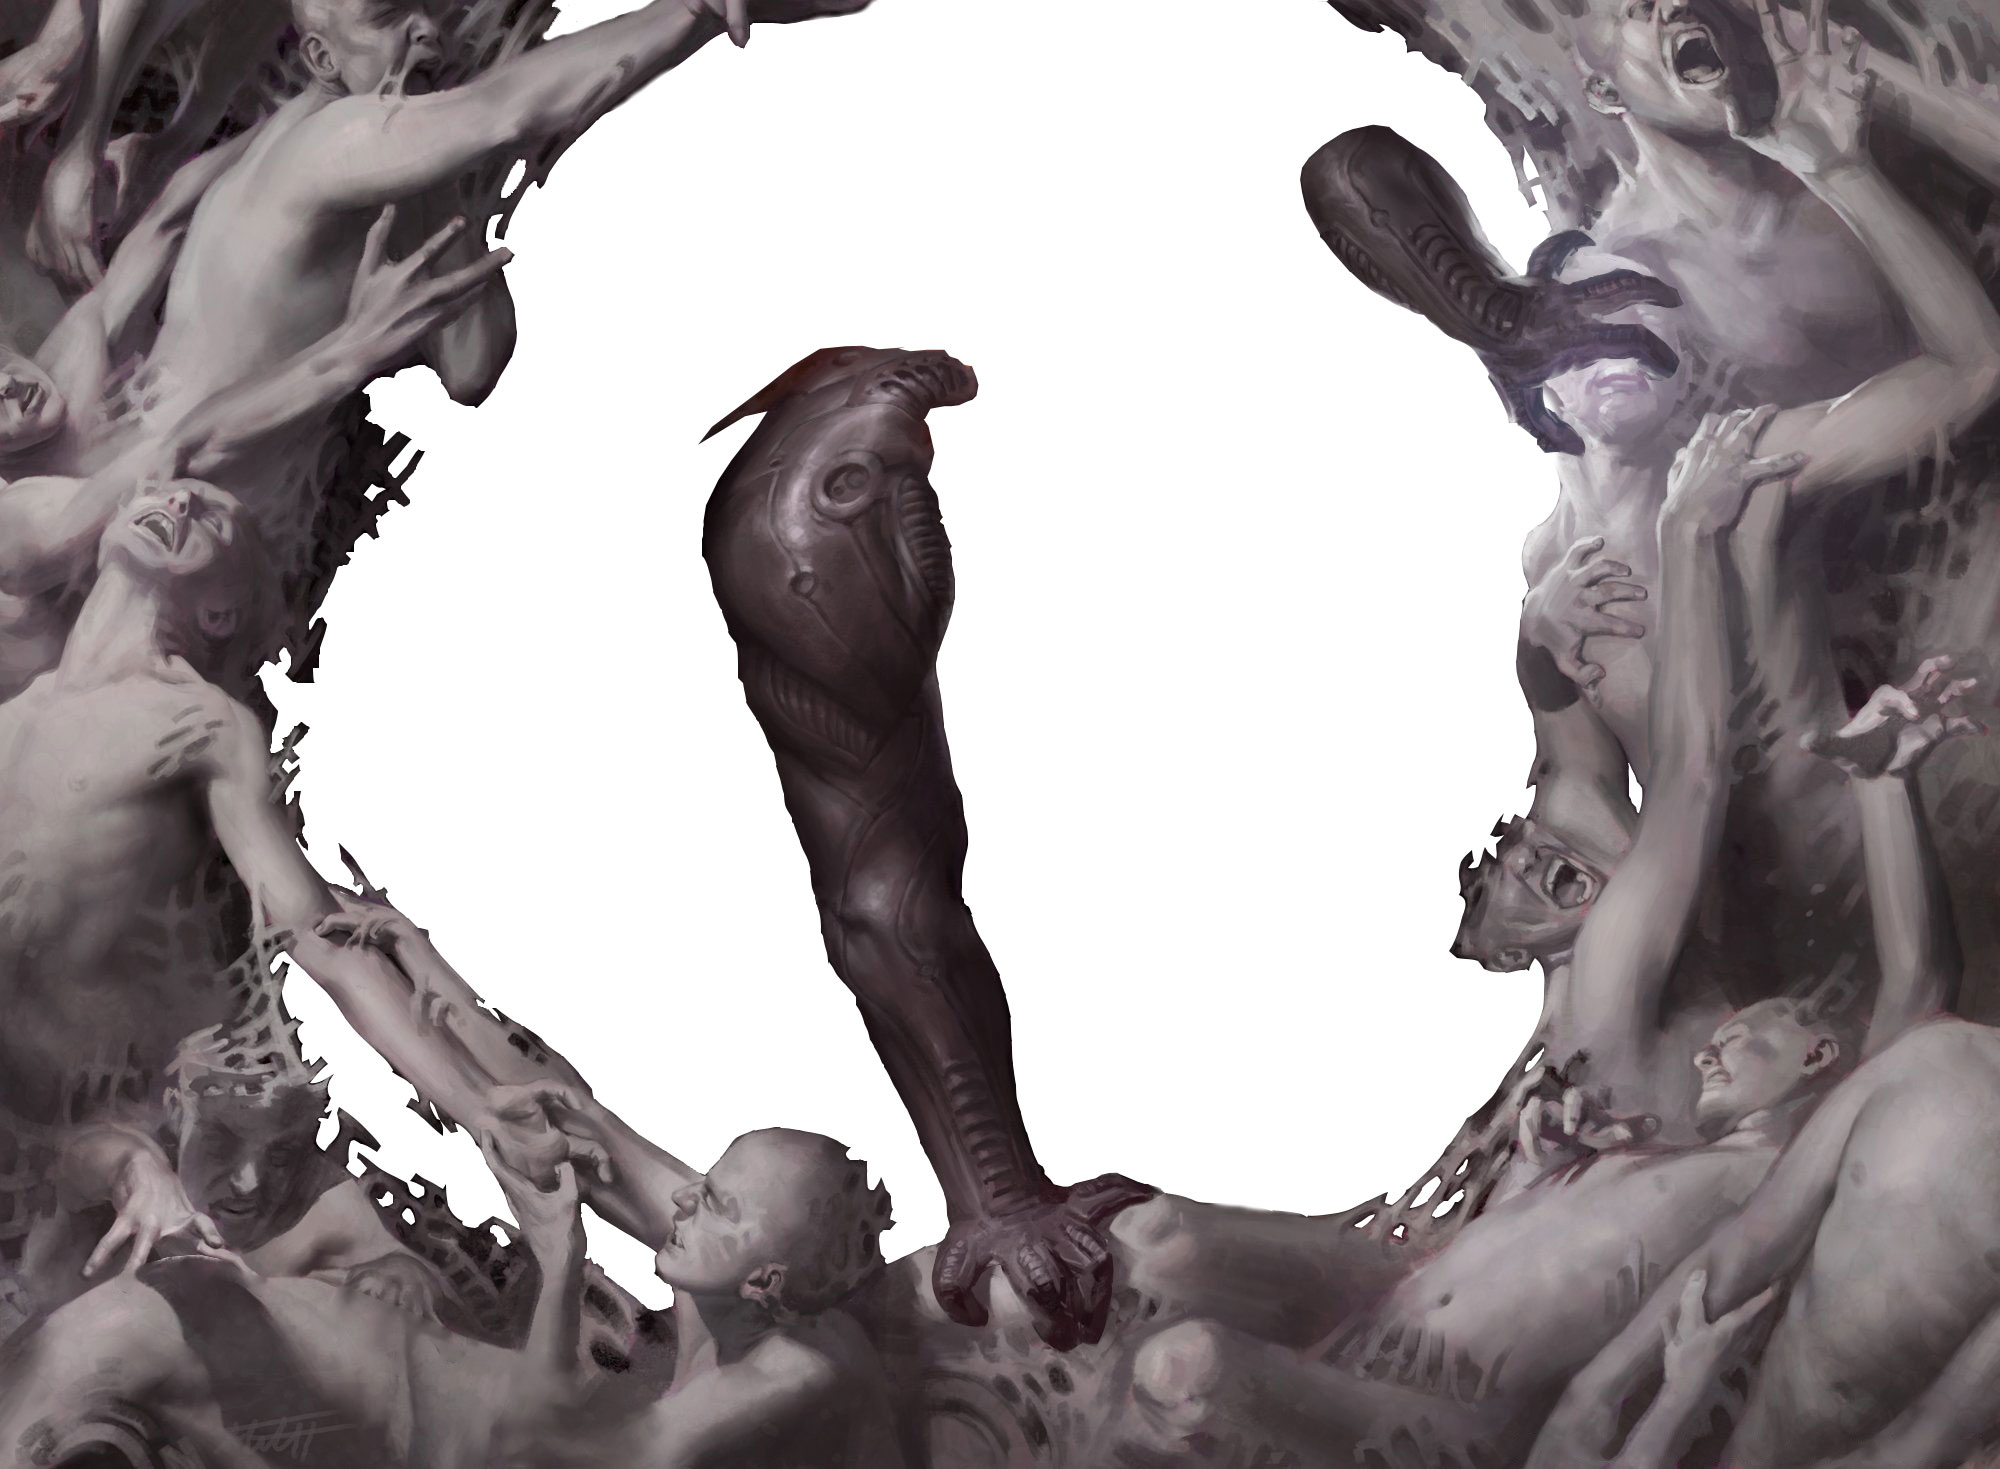
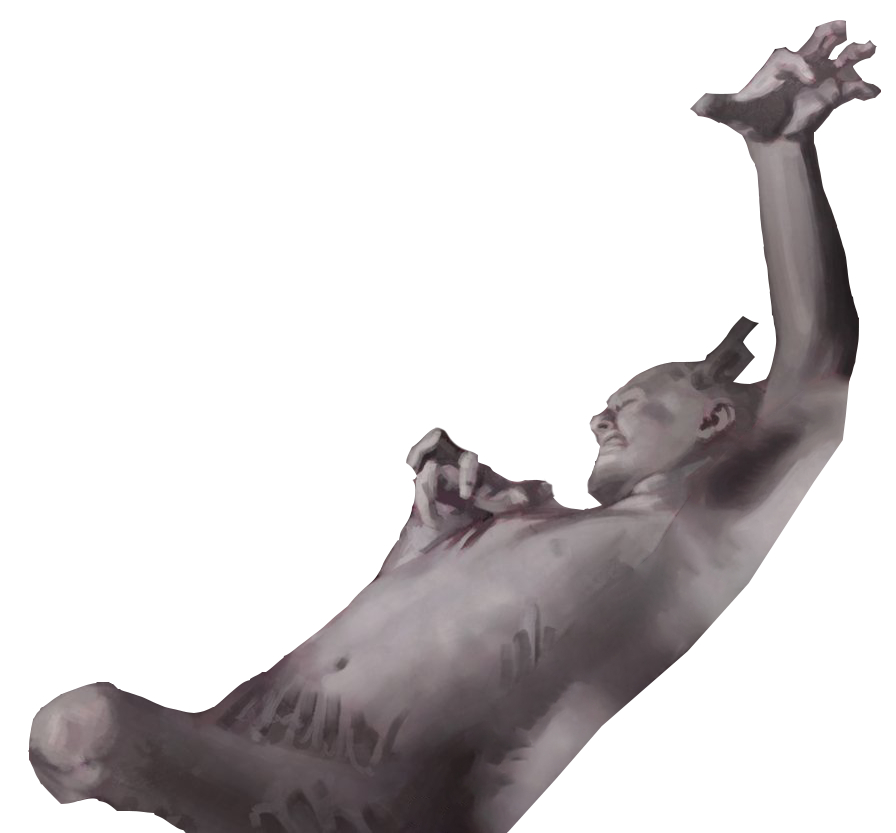
With my favorite masking tool and with liberal use of Ctrl+Z, I begin masking out every moving object. In this piece the circle of milky white dudes was incredibly tedious, but I think it paid off. The overlapping pieces and now missing background bits have to be painted out using the clone brush, or the recently, very much improved “content aware fill” tool. Here are some samples of the isolated goo people.
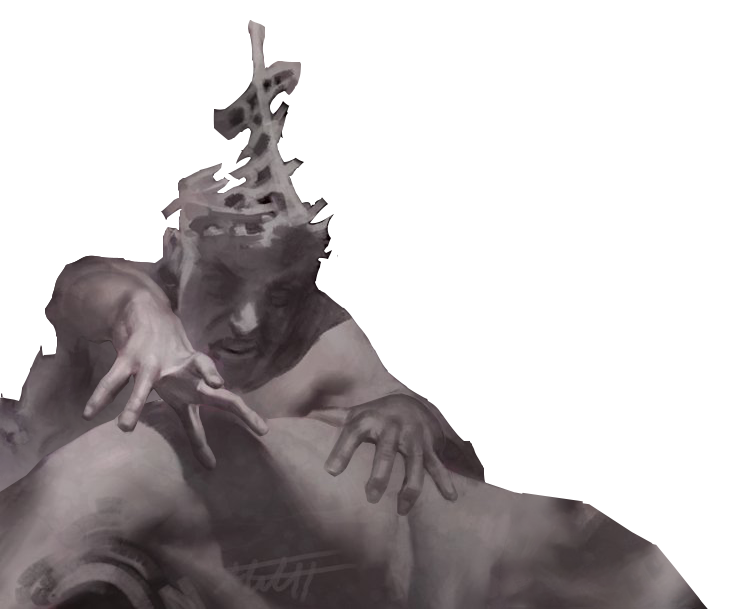
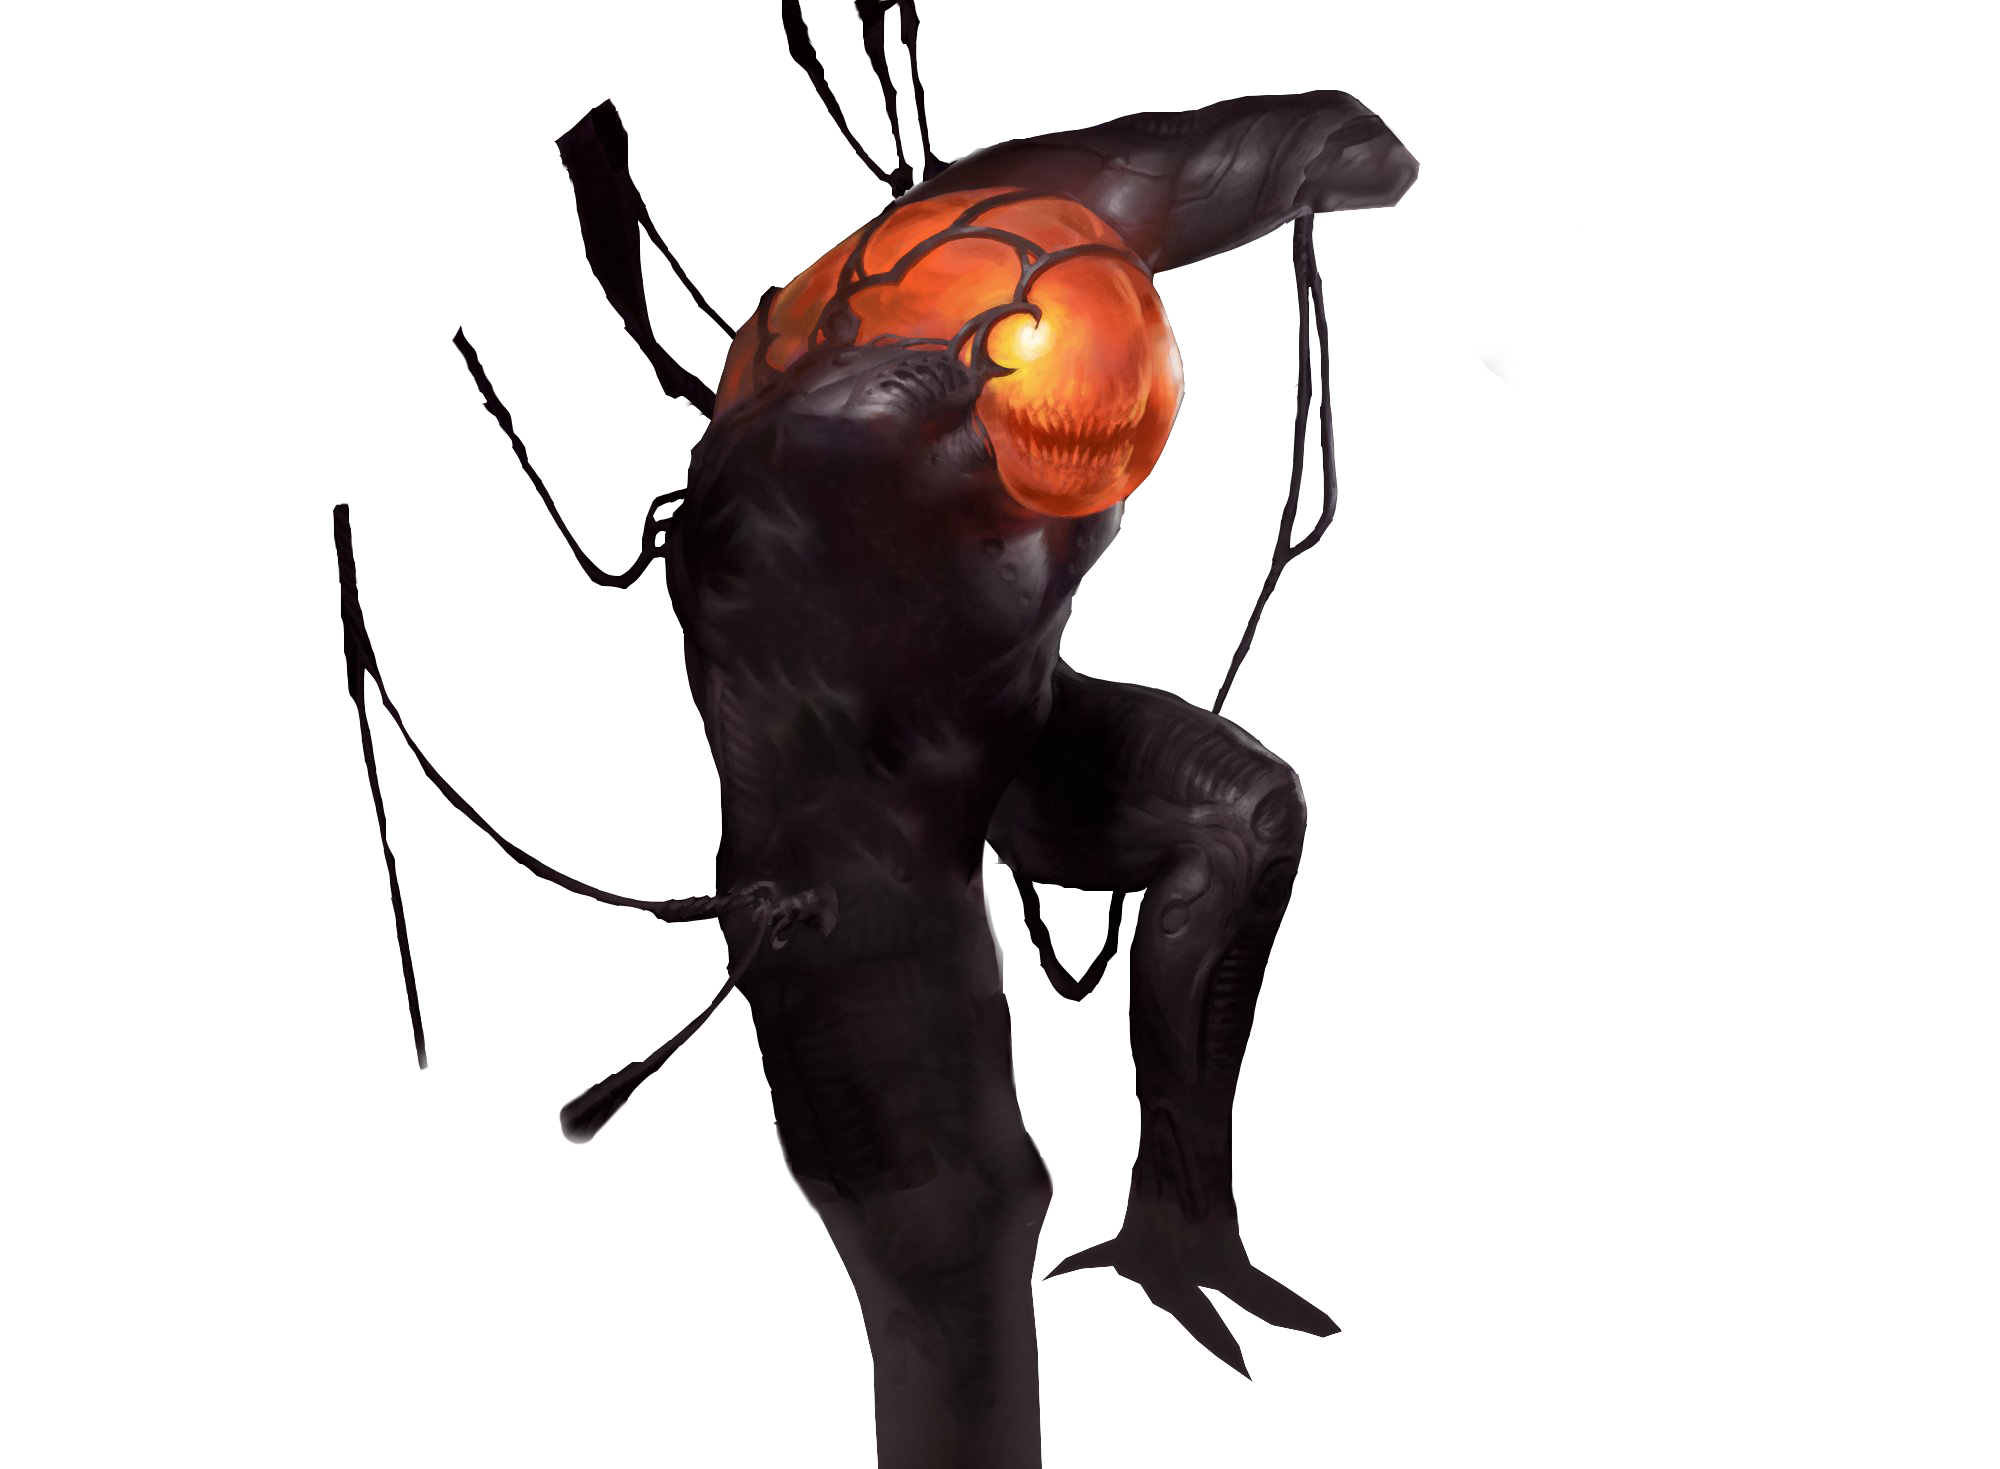
After cutting out the main figures I then get down to the pieces that may be layered within that larger figure or require a bit of extra work to animate. This takes a bit of experience, but also some common sense. I definitely end up going back to relayer pieces during the animation process when I realize I didn’t cut out enough details. Below is the therapist’s head as an example.
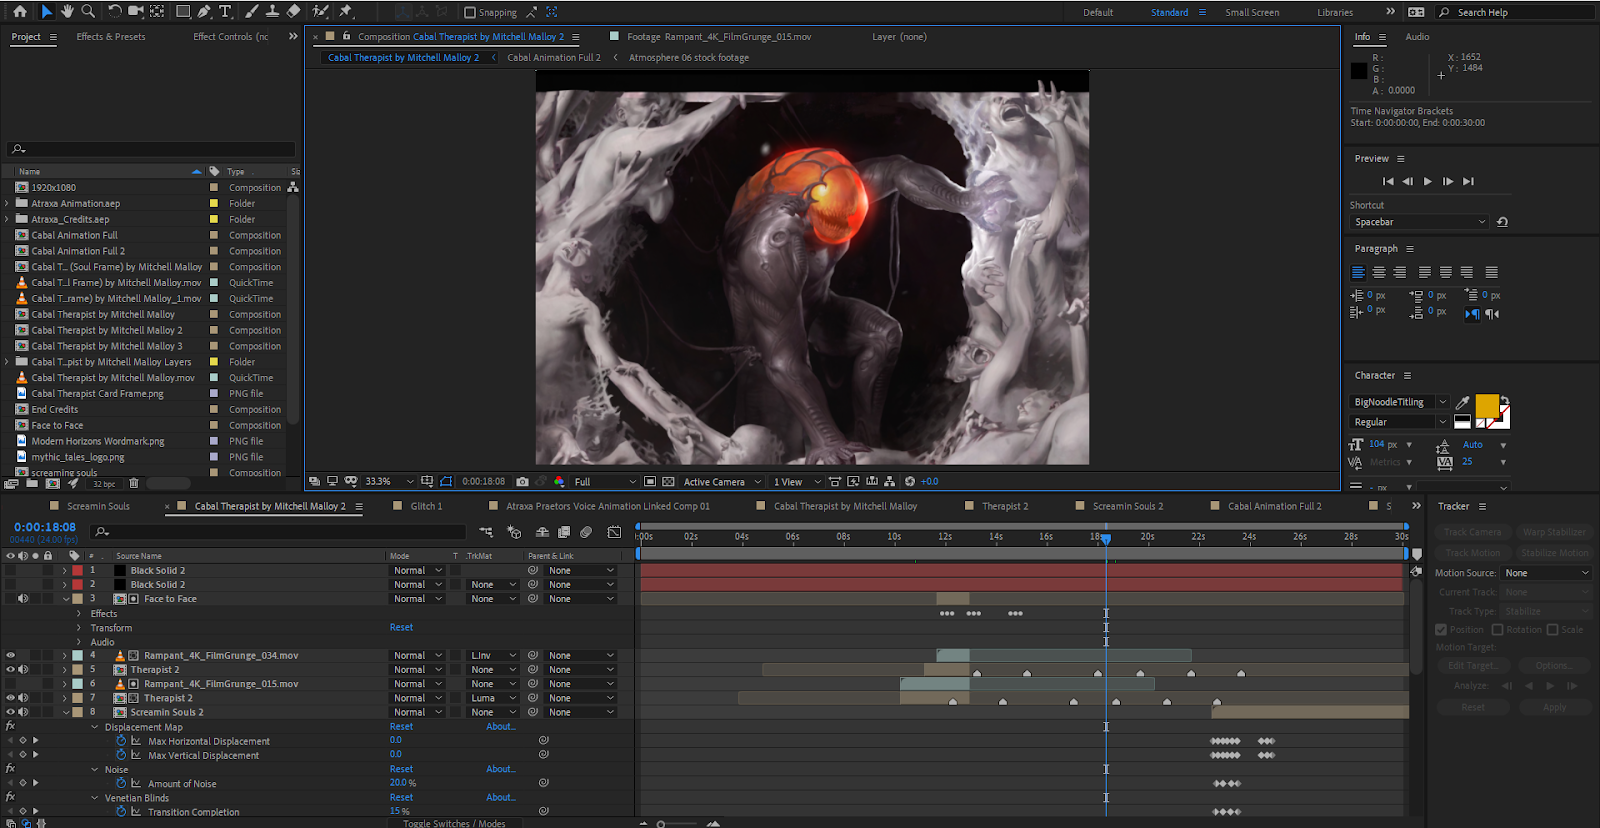
Repeating this process many, many times I can move on to rigging the character in our animation software. I use Adobe After Effects, a software for motion graphics design. At a high level, there are many ways to accomplish these types of animations and they require a degree of knowledge. For example, one key tool is the puppet warp tool. This functions much like it would in a papercraft puppet, creating hinges that can be keyed to move and bend the various layers.

The more points, the more refined the movement can be. From there I can dive into After Effects’ dozens of plugins to add a bit more flair. If you’re familiar with the program, turbulent displace and ripple can make some great looking natural movements for things like hair or shrubbery. Next is the long process of staging out the movements I identified earlier, bringing it all together into a cohesive whole.
This takes imagination and a lot of practice and patience. I also recommend soloing out layers to work, as a full resolution preview can take literal minutes to show with lots of animation in place unless you’re working on a quantum computer.
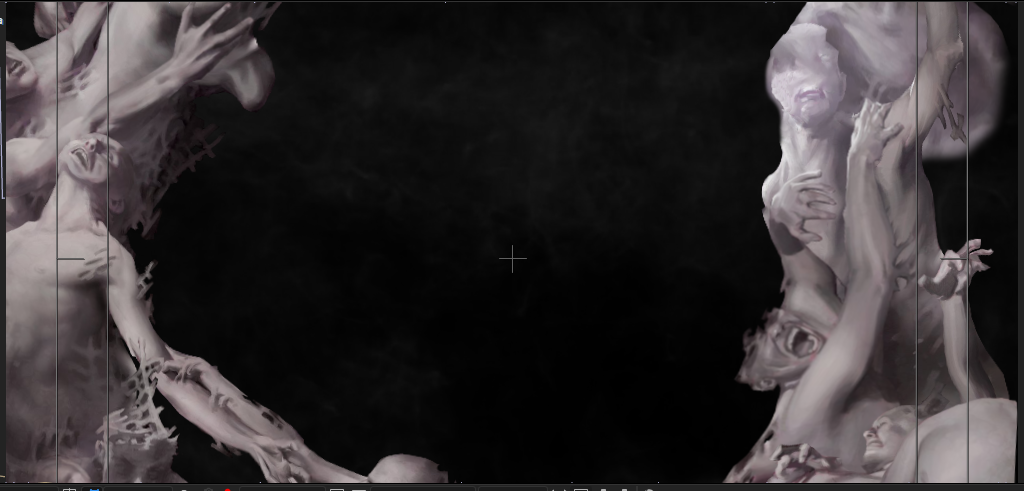
Once the key movements are in place, I can move onto the extra effects to help build atmosphere. Here I add some fog to give the piece more motion and depth. I always try to use elements from within the piece where possible to not clash with the art, but sometimes a little touch of stock footage can bring a piece together.
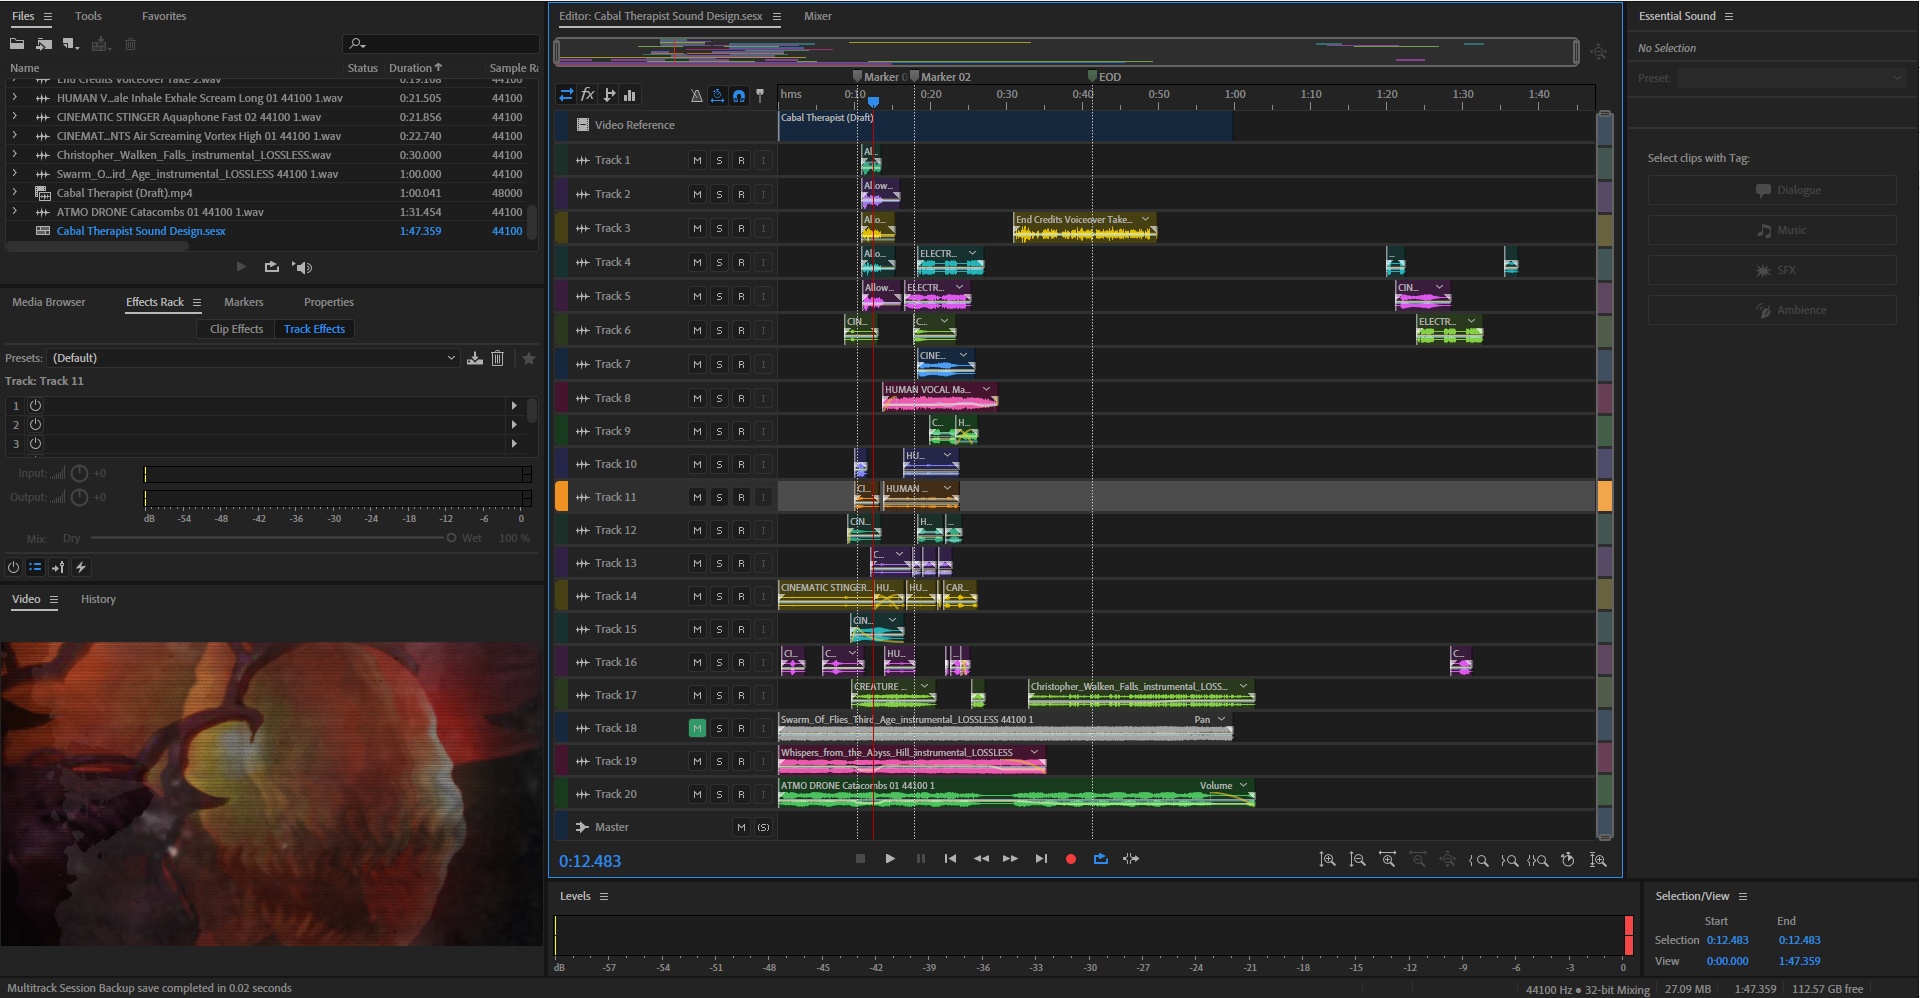
Once I’m happy with the animation and effects I could call it good, but I like to add sound to bring the piece to life. At this point I go on the hunt for music and sound effects that seem like they would fit the animation. In this case it was screams. A lot of screams. Around twenty-two unique ones to be exact. I even added a few of my own, much to my wife’s chagrin.
A great site for creative commons sound effects is freesoundproject.org, where you can find sounds made by other enthusiasts. Once I’ve collected the sounds, I open Adobe Audition to sync the sounds to the animation using layers much like in After Effects.
This part again takes some experience, but it’s also a lot of trial and error. Sound adds so much to animation though, and is entirely worth the effort to immerse the viewer. Once the audio is complete, I bring the animation render and audio file together and export from Adobe Premiere. Then I share the animation with the world to enjoy and write an article about how I did it. Magic has incredible art and incredible artists. Animating their pieces has given me so much more appreciation for their work, and I continue to love bringing pieces to life.
I’ll be posting a time lapse of working on this piece on my YouTube channel very soon, so make sure and subscribe to catch it if you’re interested in seeing the entire process unfold!
You can find my work on both Twitter and YouTube, and if you enjoyed the animation or article consider throwing me a buck over on Patreon.